How to Use Render: Compare Precise, Balanced, and Creative Modes
Learn how to render one architectural image in Precise, Balanced, and Creative modes, keep settings consistent, and compare the results.
Render lets you turn an architectural image into a new visualization. The key decision is how closely the result should follow the starting design. This tutorial uses the same house image to compare Precise, Balanced, and Creative, from upload and settings to the finished results.
If you refer to the middle option as “Balance,” look for Balanced in the current interface.
1. Start with Image 1
Open Render in the left navigation and choose Single Image. Click Upload Image, select Image 1, and wait until its preview appears.
Our starting image is a front view of a contemporary house with white walls, gray stone, wood soffits, glass balconies, and a dark entrance gate. Its clear edges make it easy to spot changes in the roofline, windows, balconies, and boundary wall.
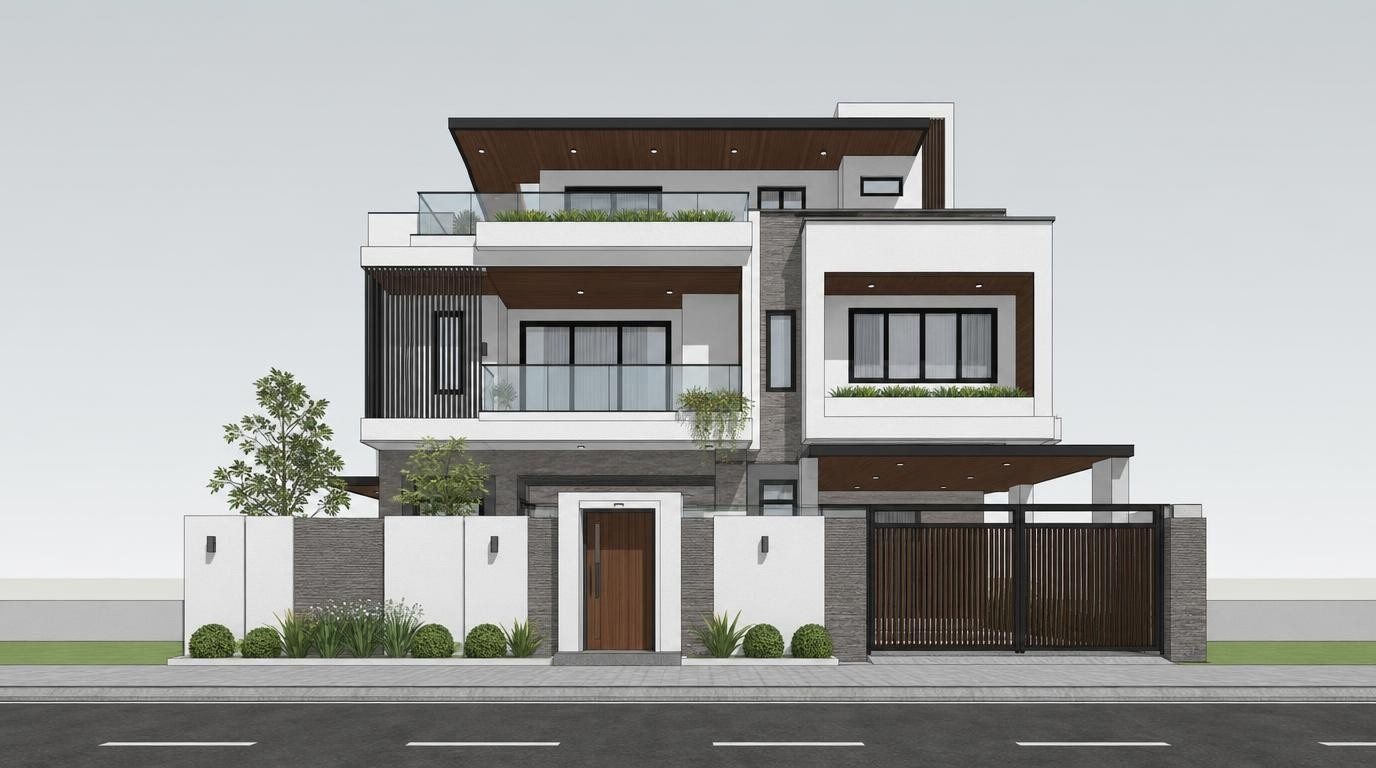
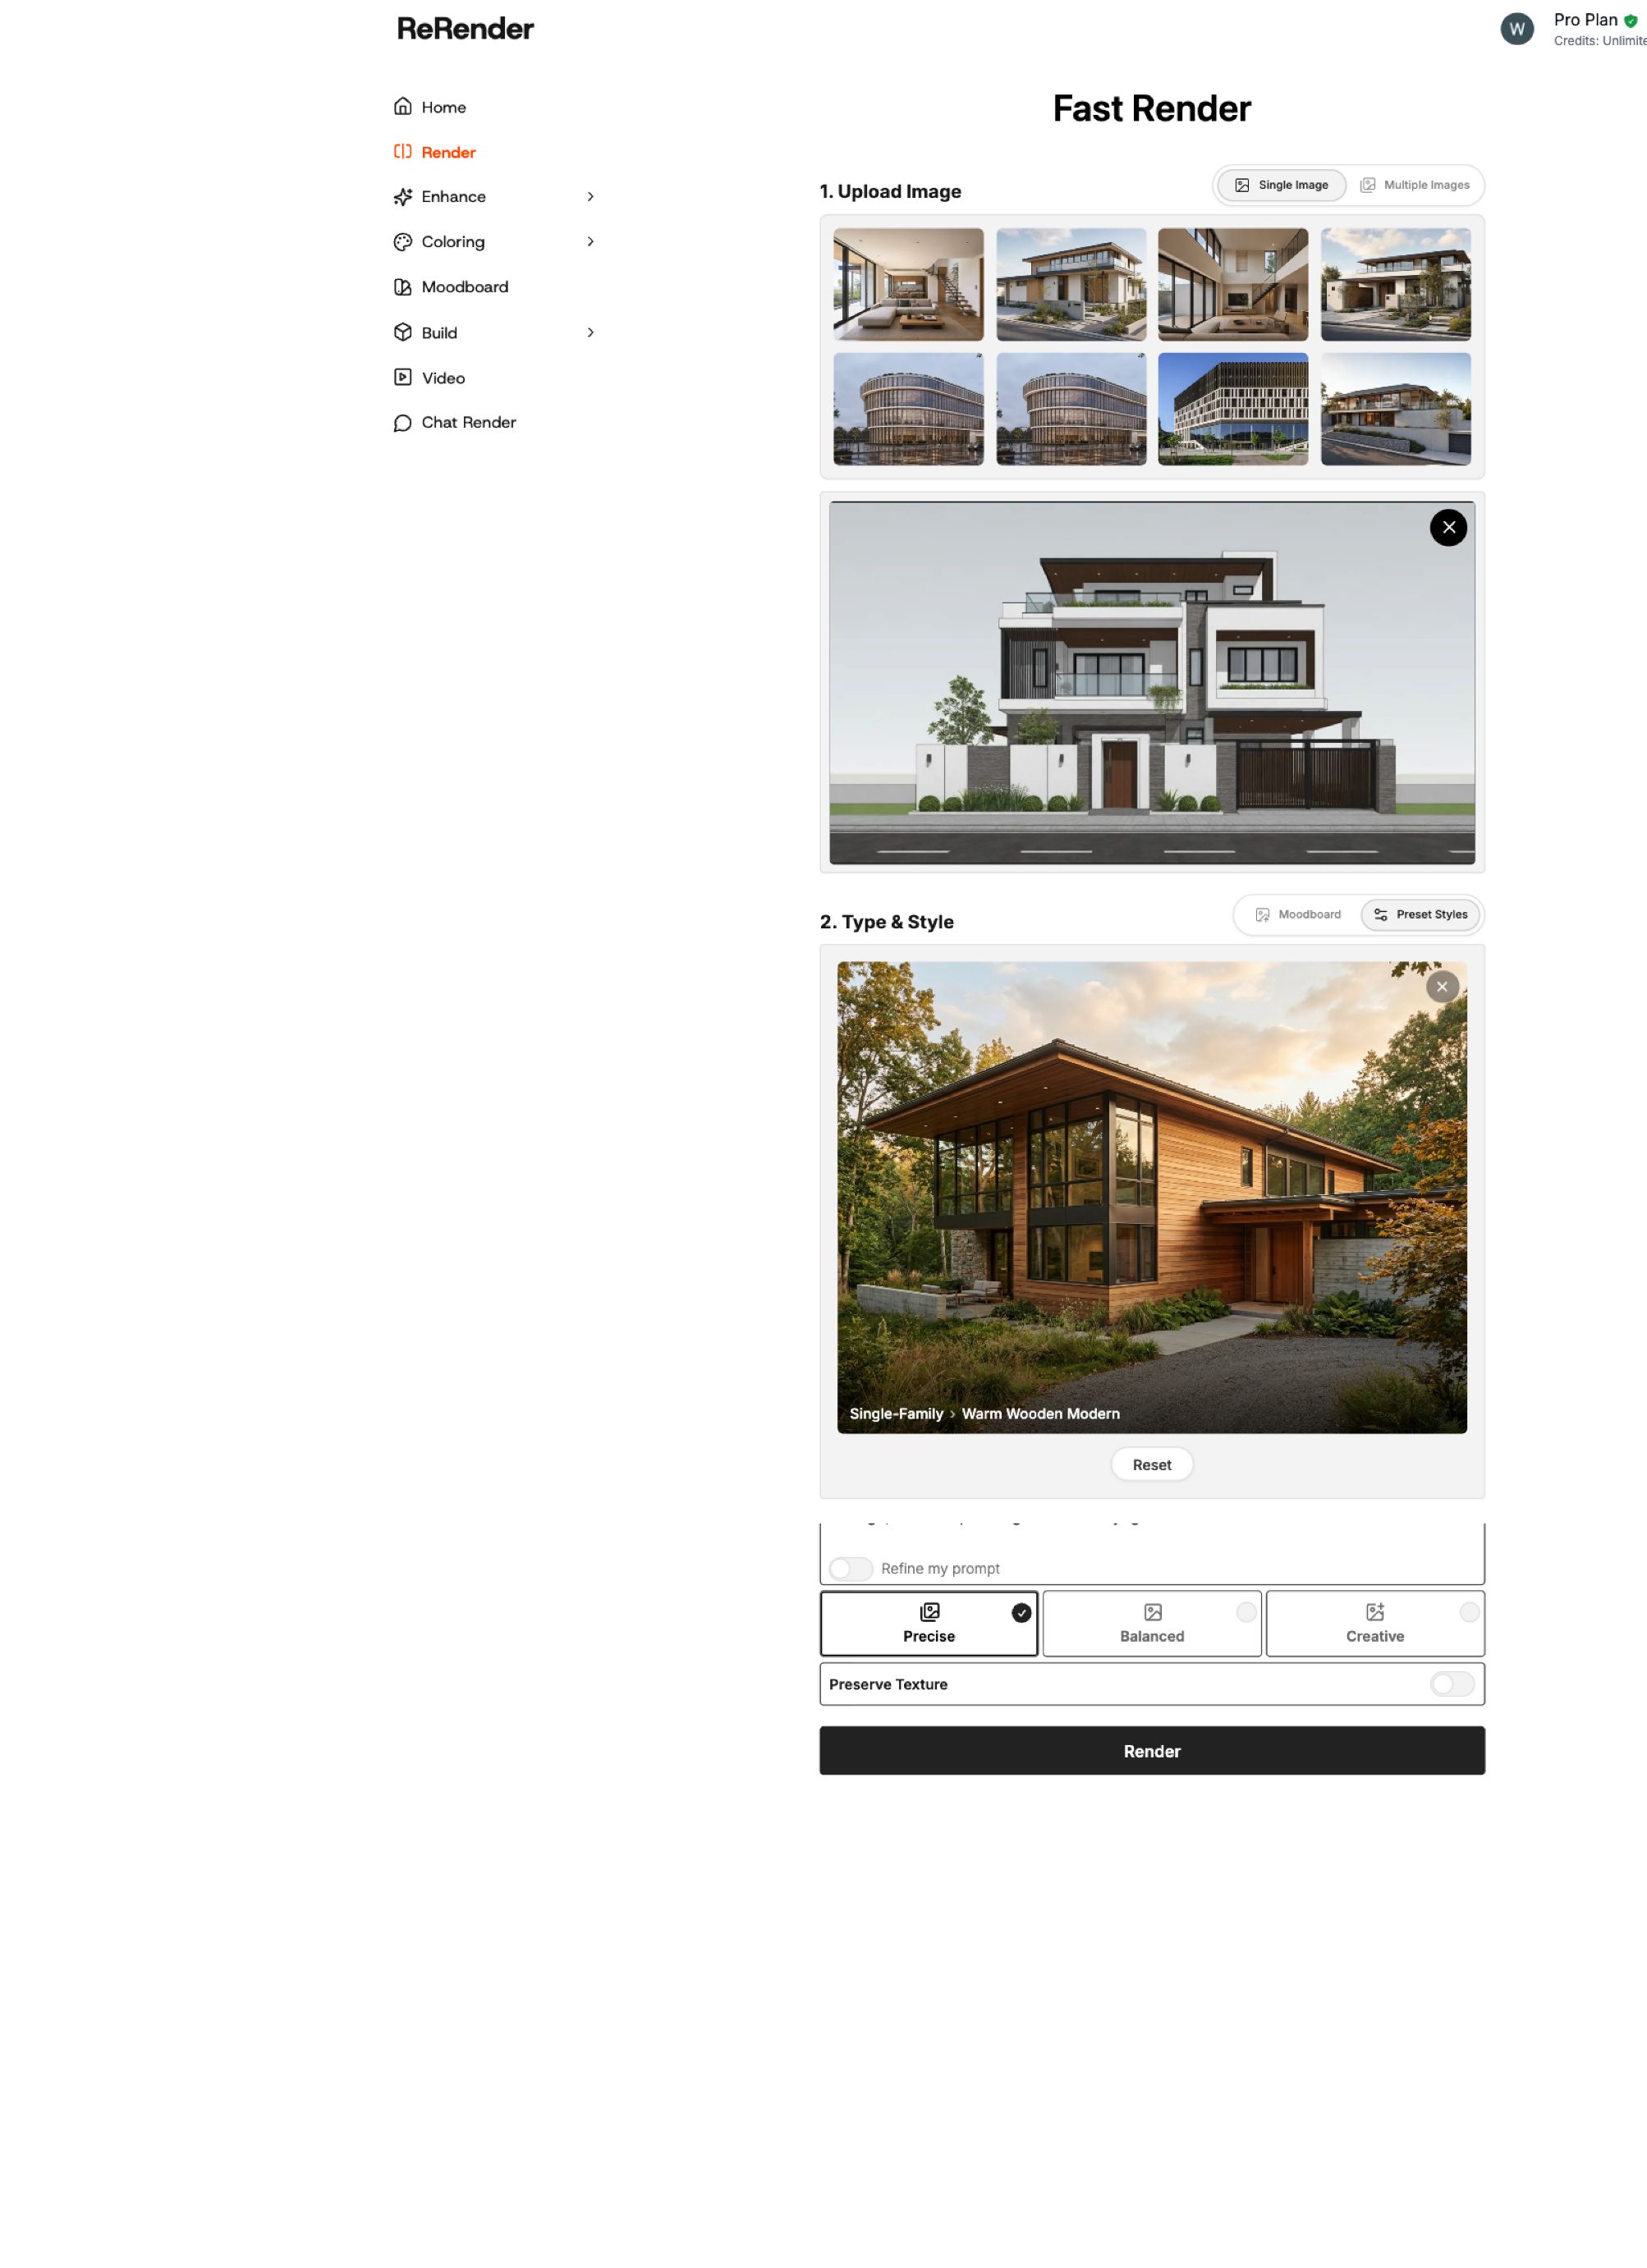
Workflow screenshot: Image 1 uploaded in Render, with the chosen style below it.
2. Keep the shared settings consistent
Under Type & Style, choose Preset Styles → Exterior → Single-Family → Warm Wooden Modern. Use the same style for every run.
For this comparison, leave Time of Day, Season, Sky, Landscape, and Architectural Material at None. On the result page, these unset fields appear as Not Selected. Leave Refine my prompt off. For the initial Precise run, leave Preserve Texture off as well.
Enter this exact prompt:
Photorealistic front elevation of a contemporary single-family house, white plaster, gray stone cladding, warm wood soffits, dark window frames, glass balcony railings, realistic planting and soft daylight.
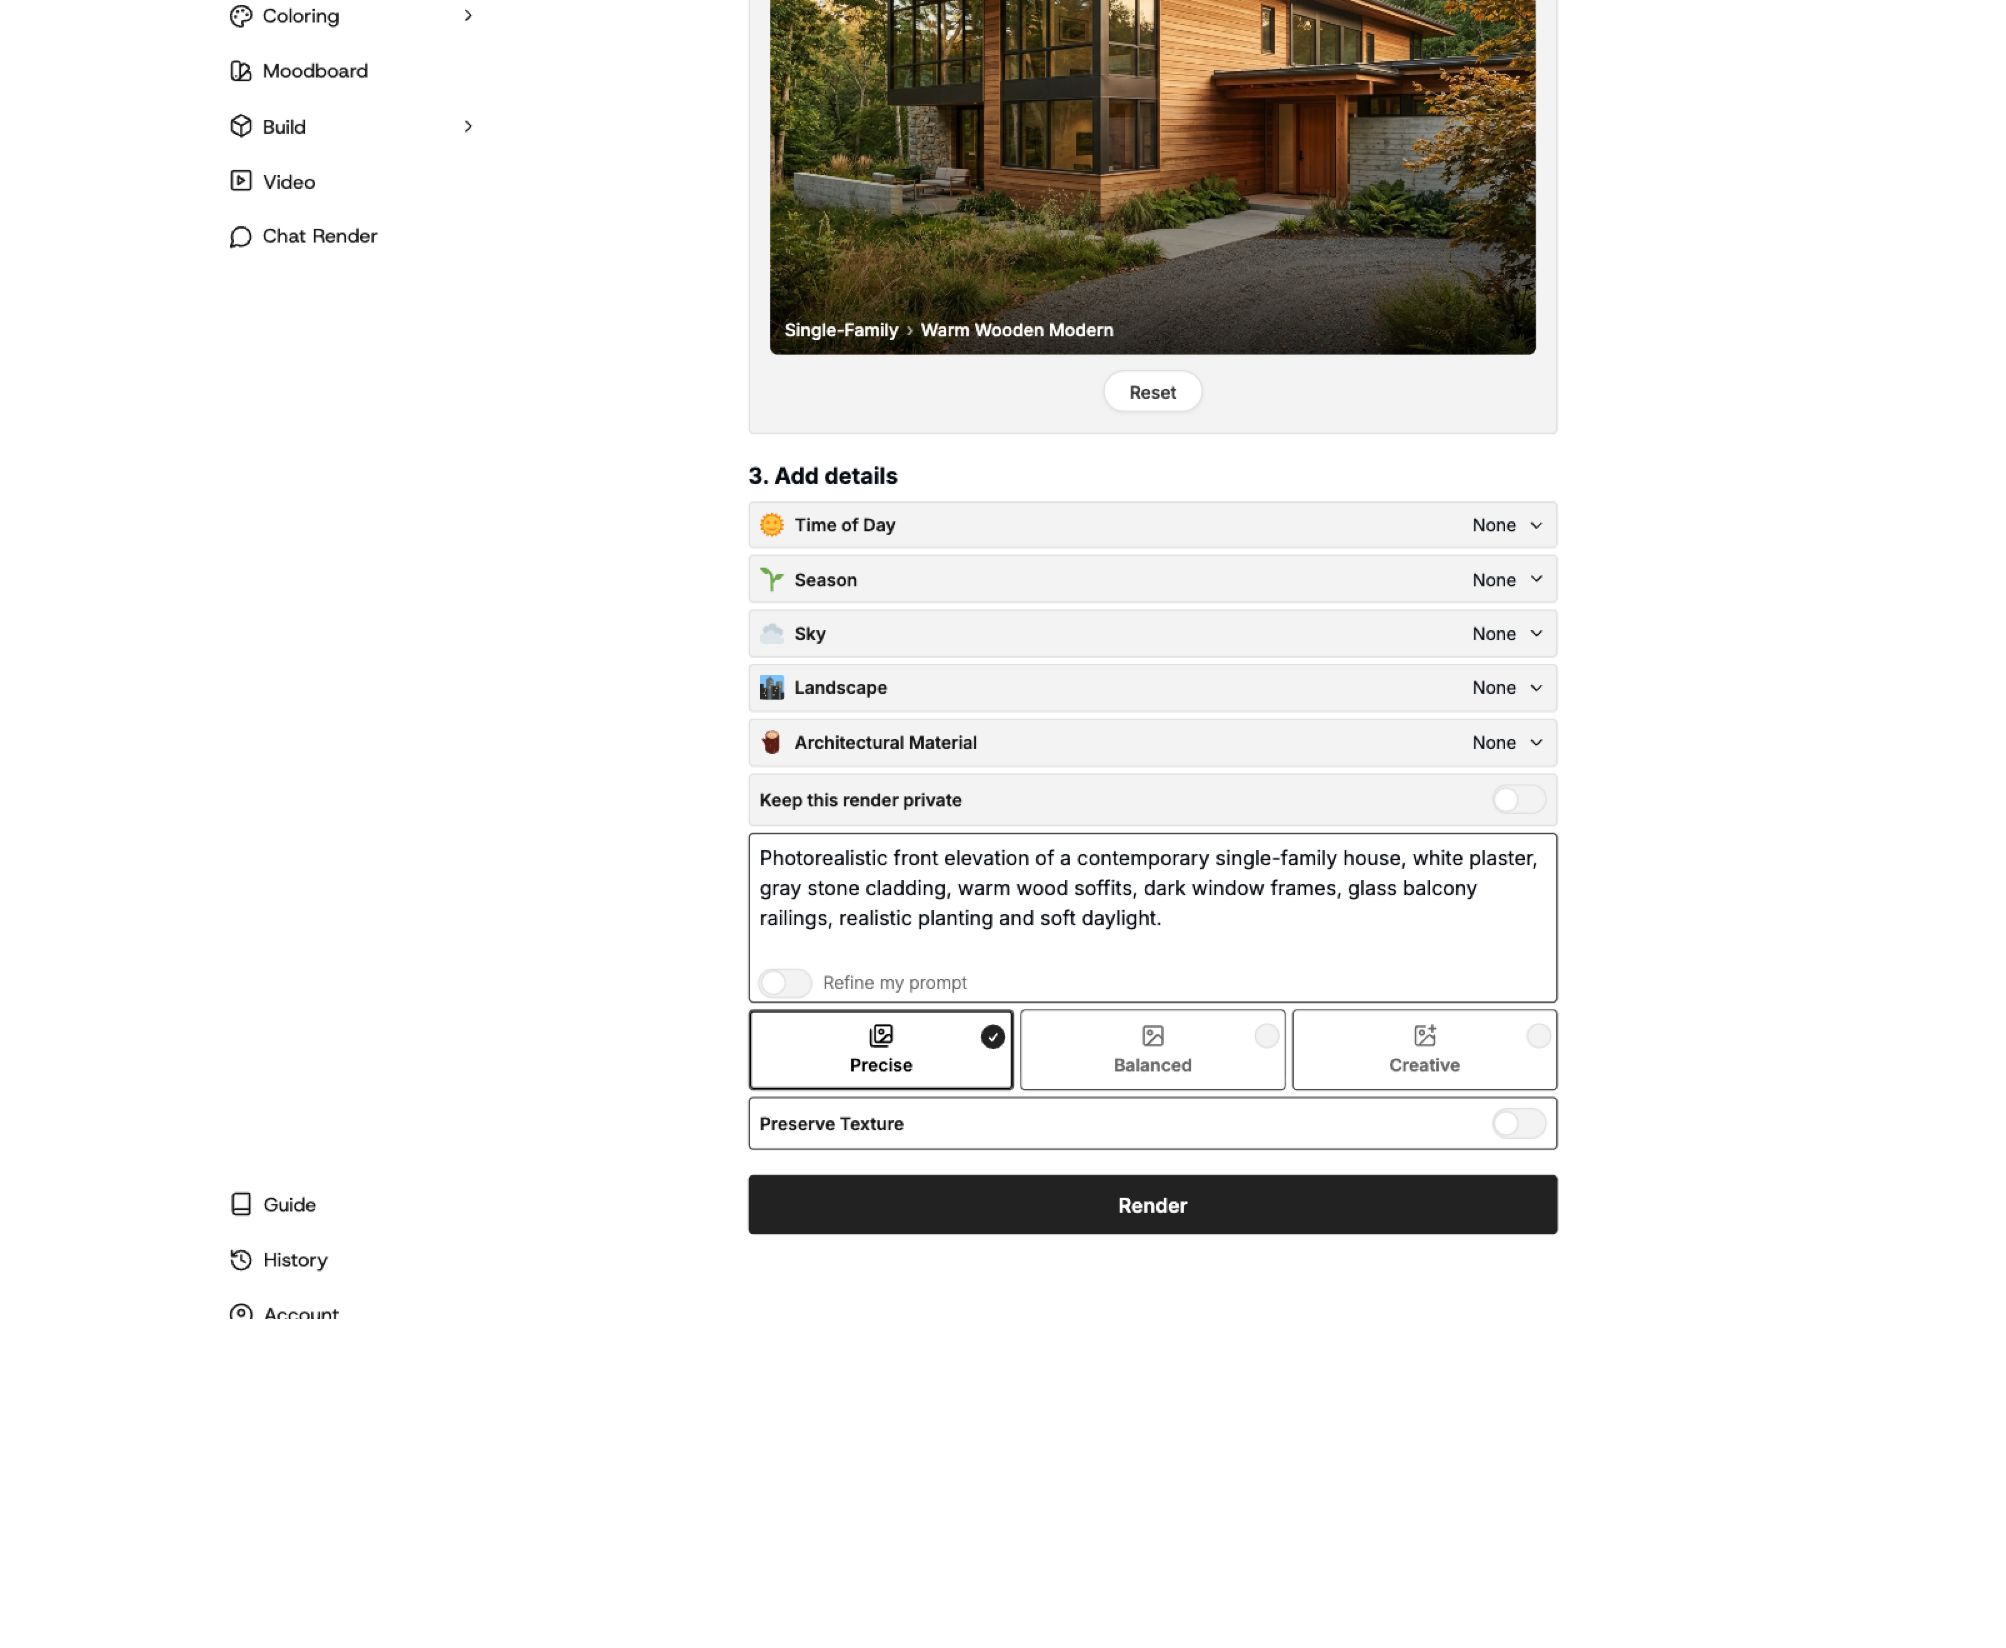
The only intentional change between the three runs is the mode. Mode-specific controls may appear or disappear.
3. Render with Precise
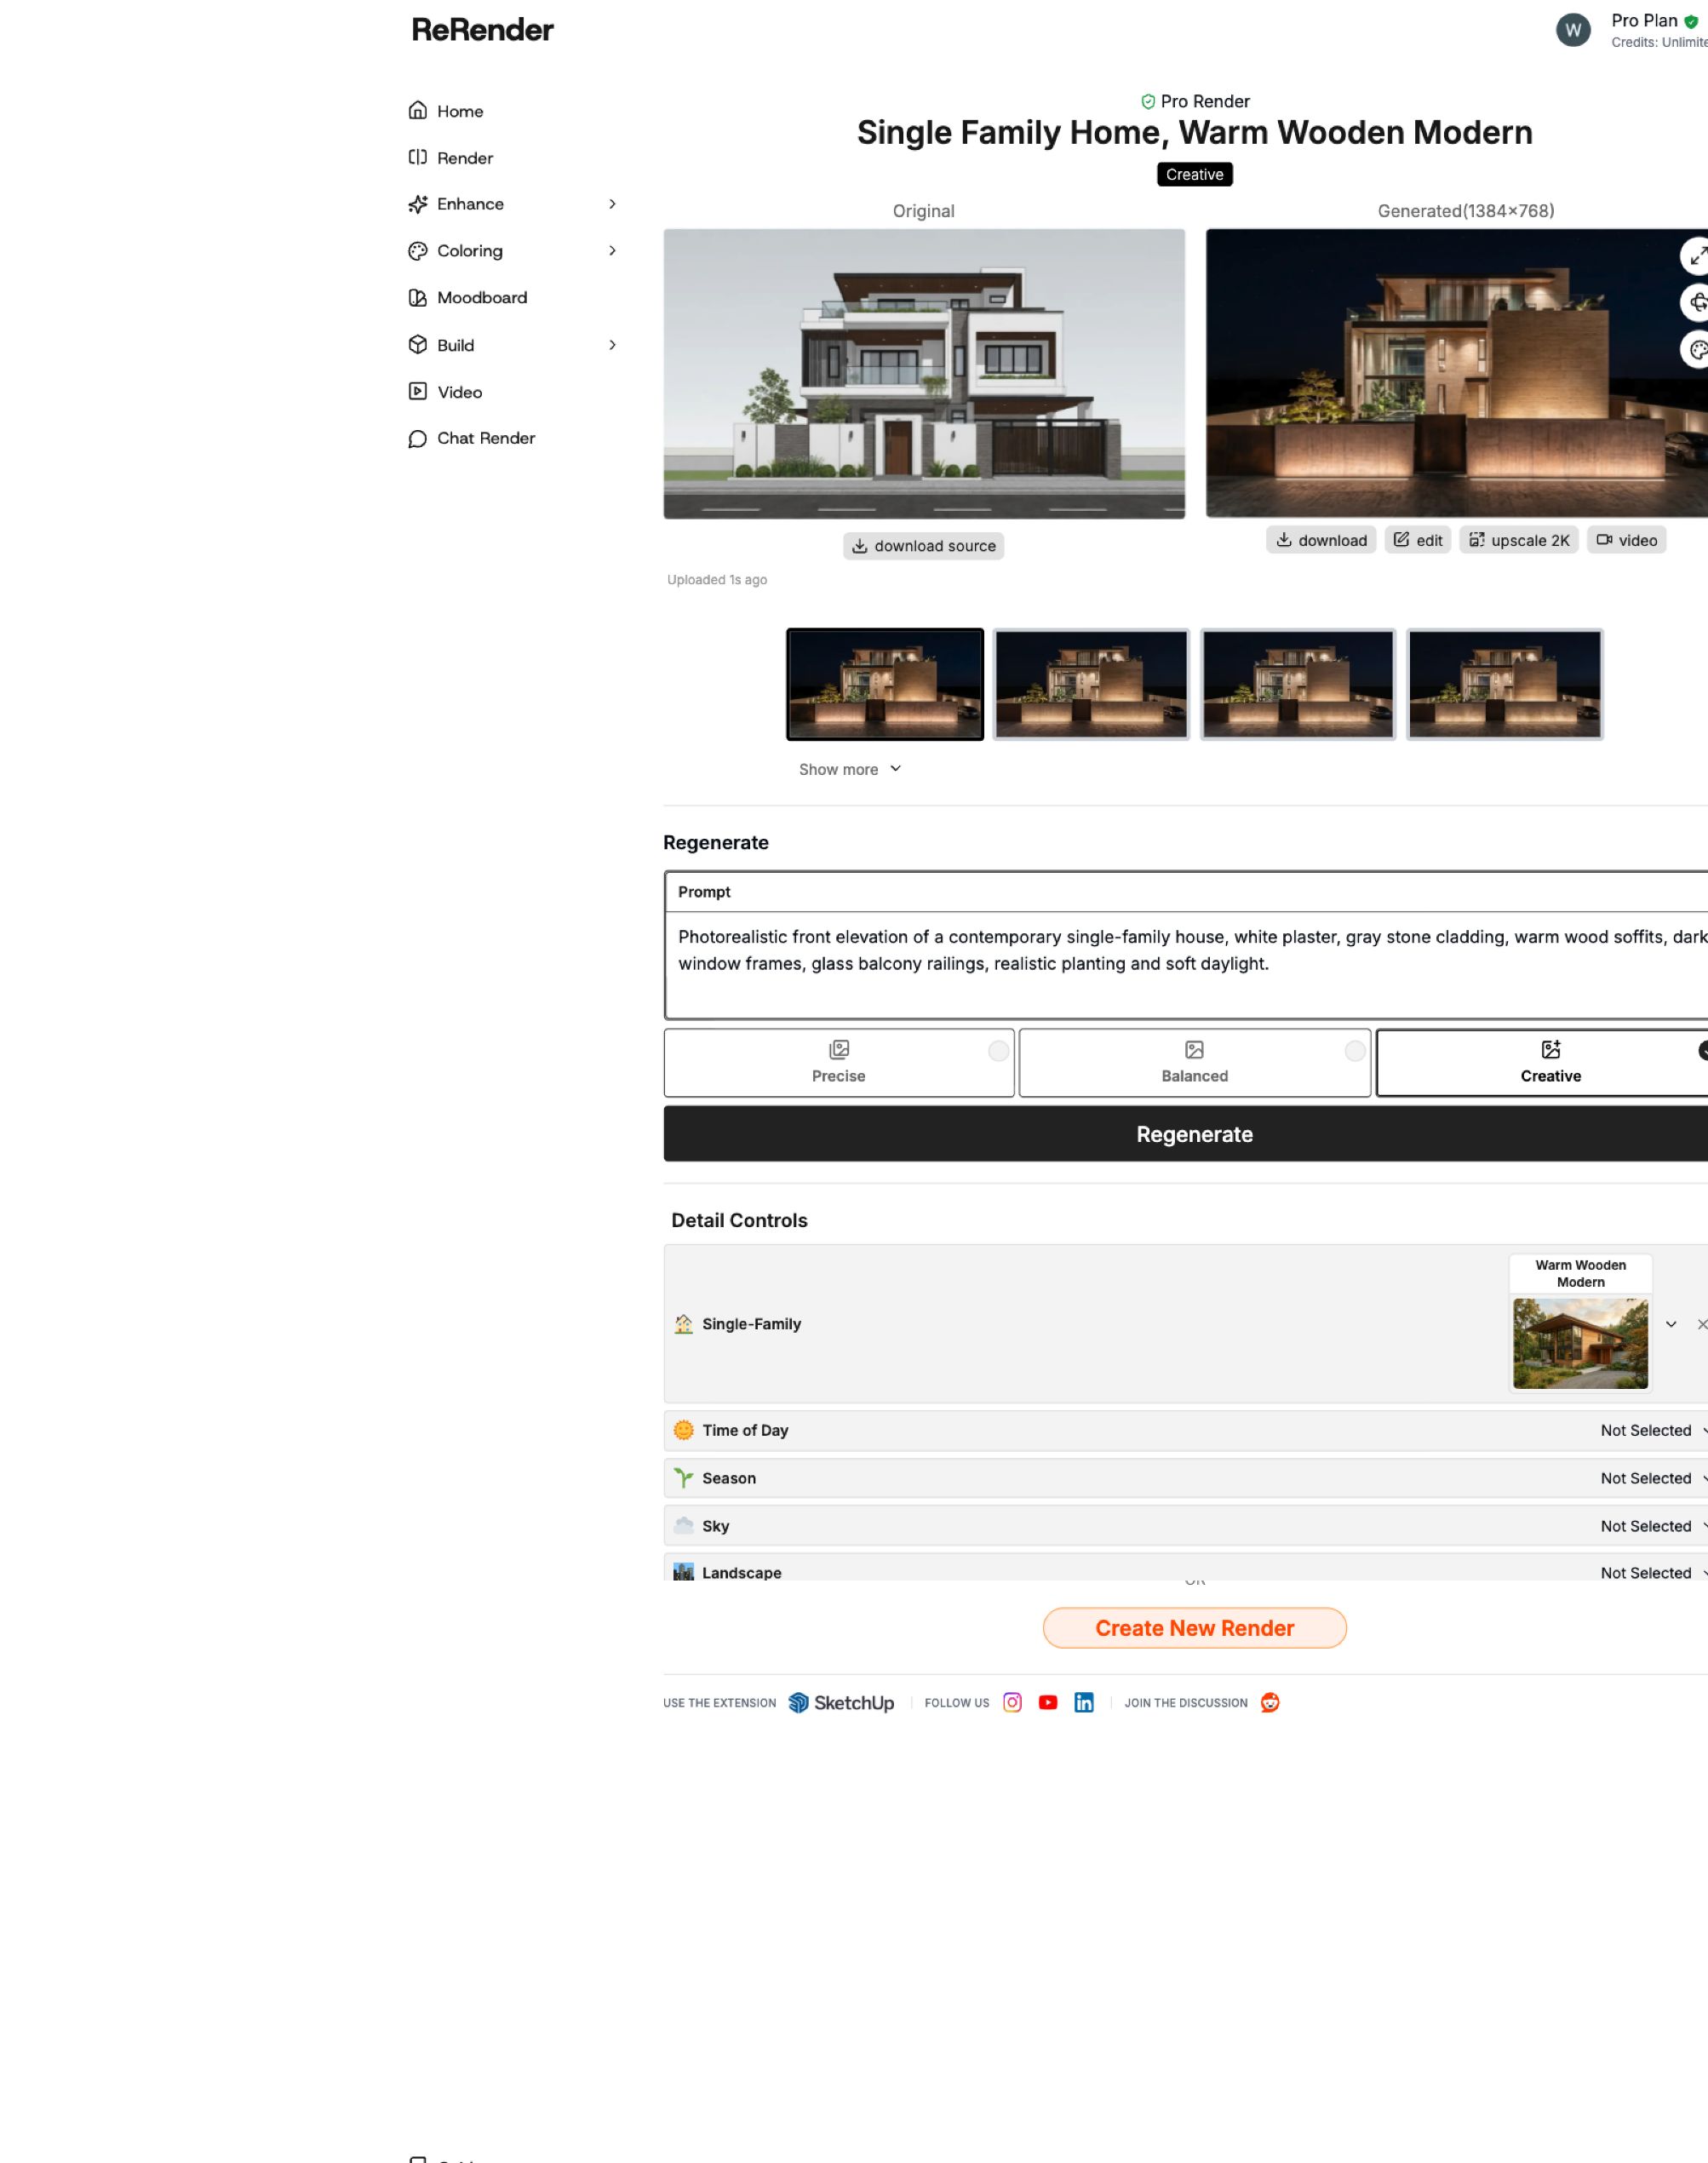
Select Precise, then click Render. Wait for generation to finish before evaluating the output. The result screen places the original beside the generated image and shows selectable result thumbnails.
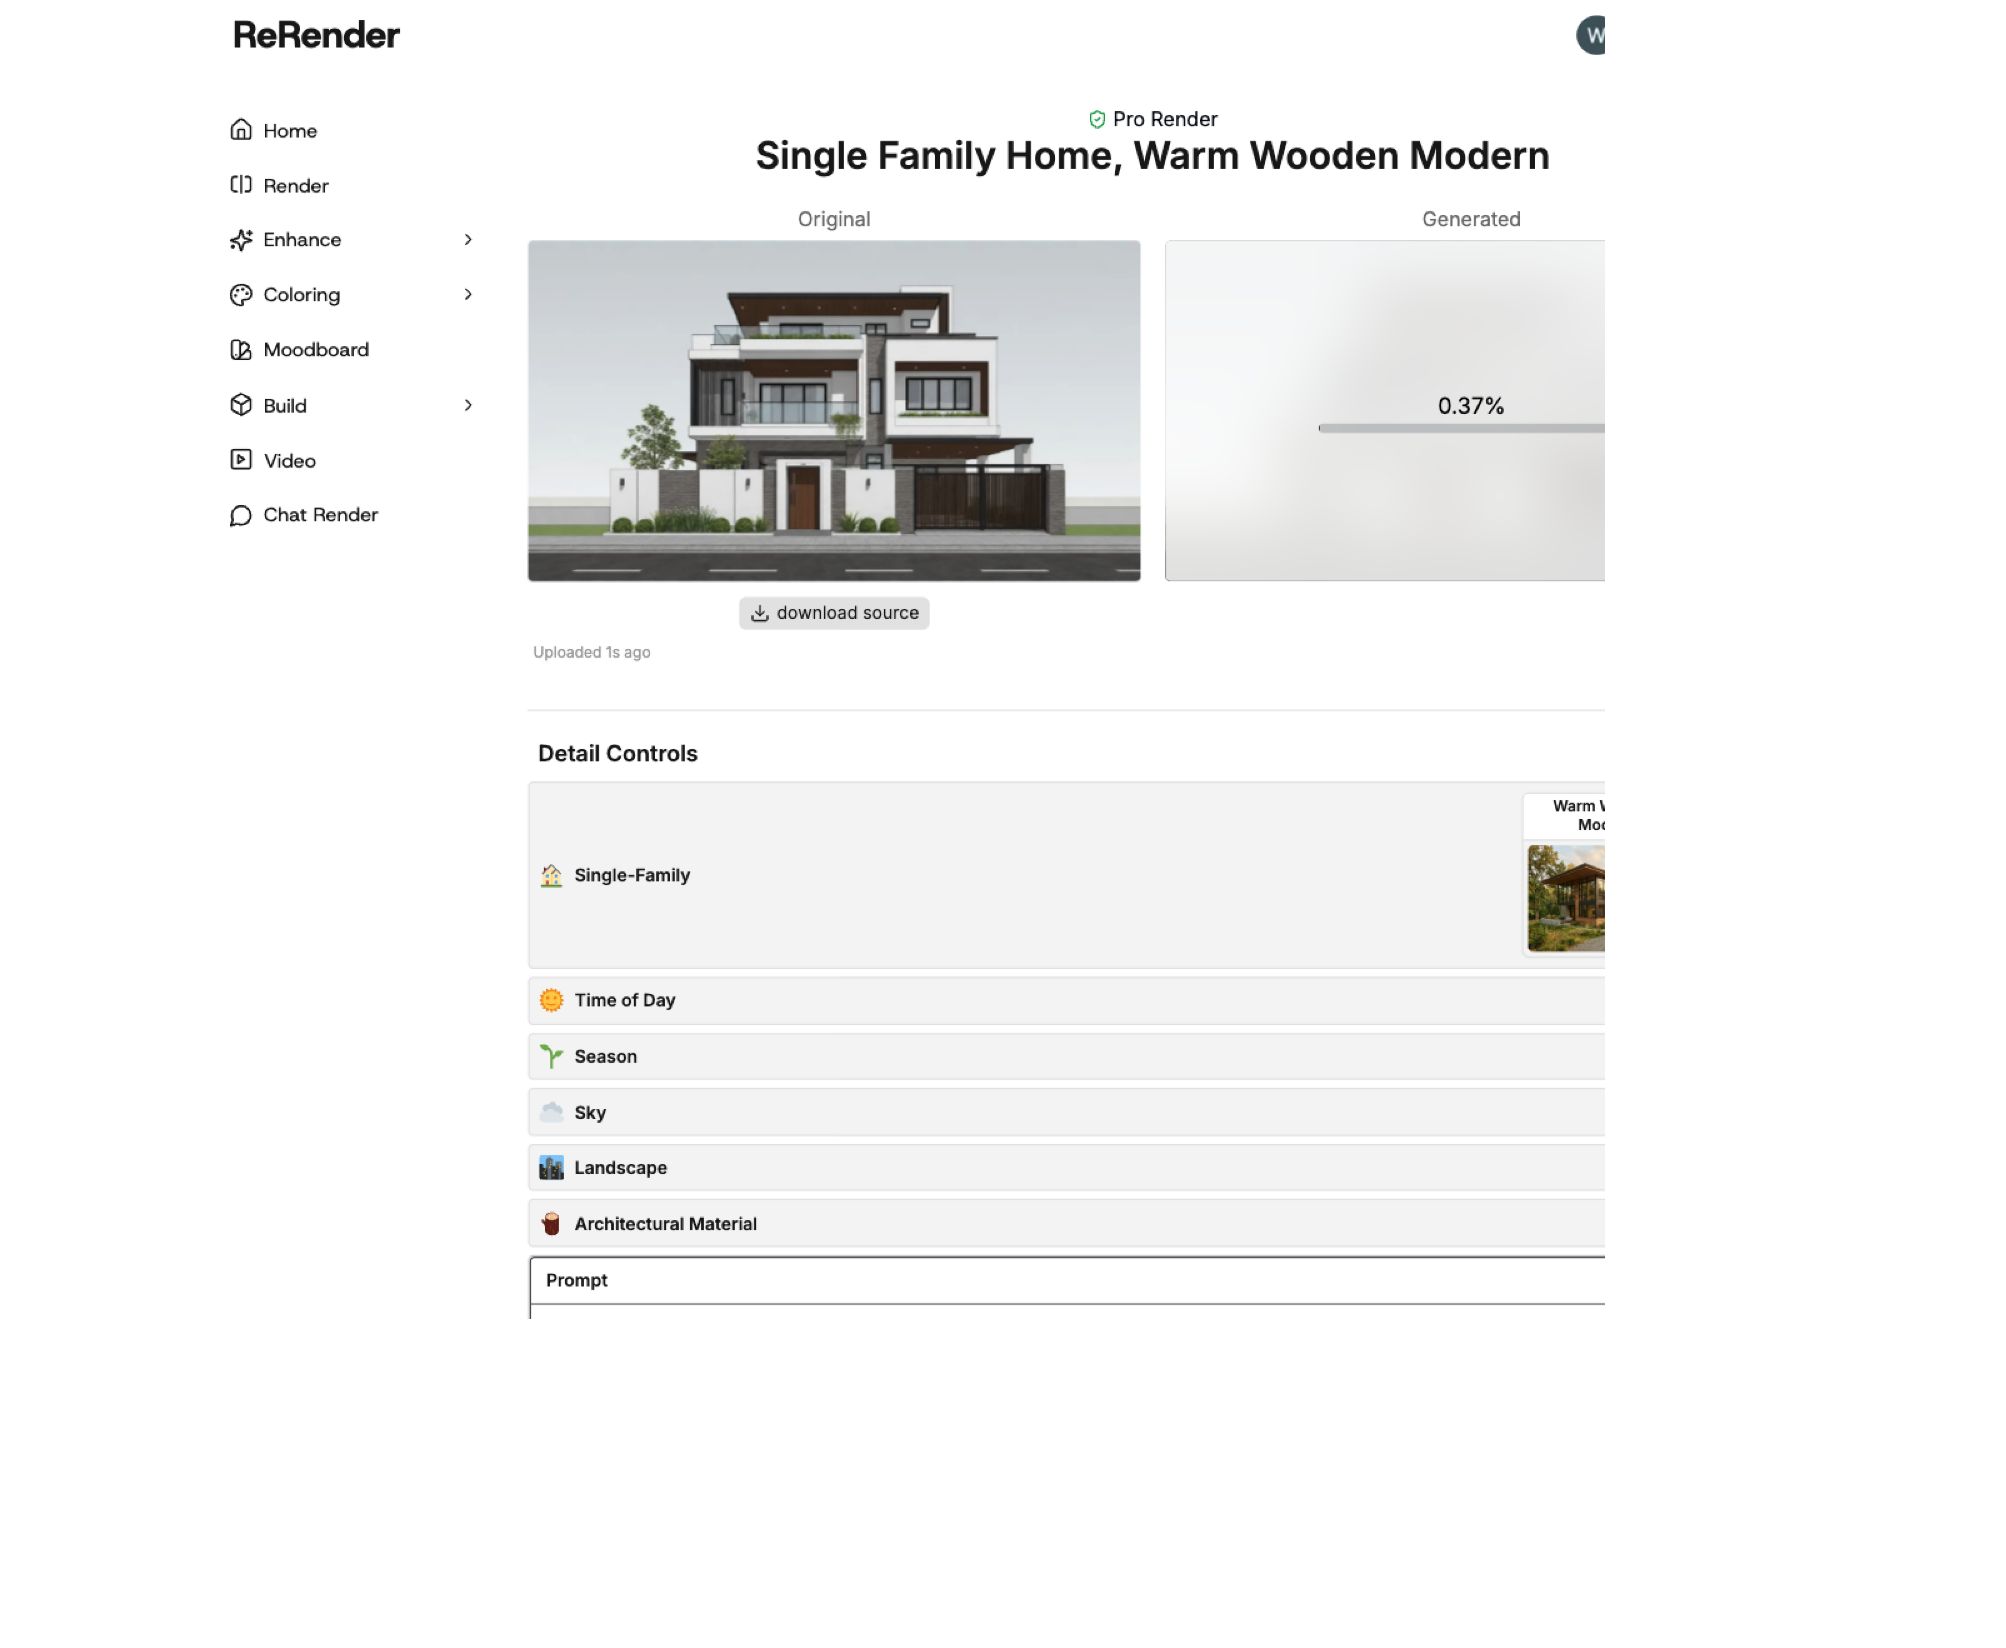
Generation screen: the source stays visible while Render produces the result.
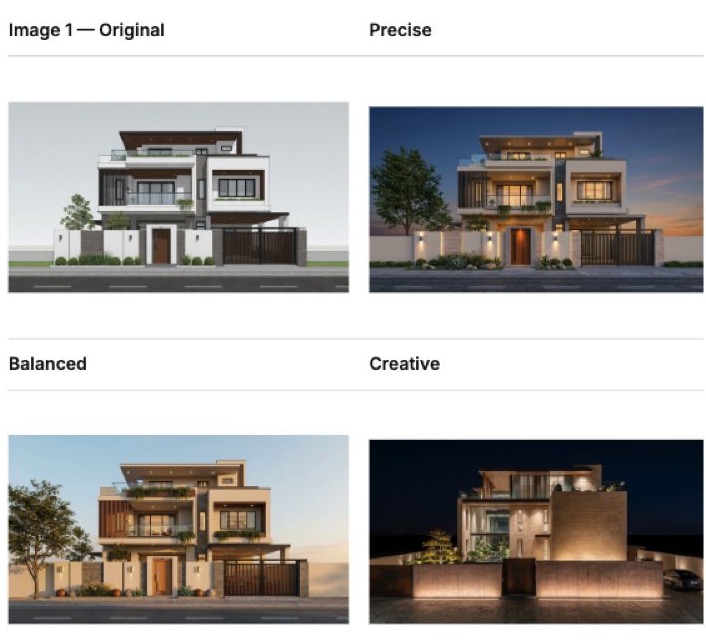
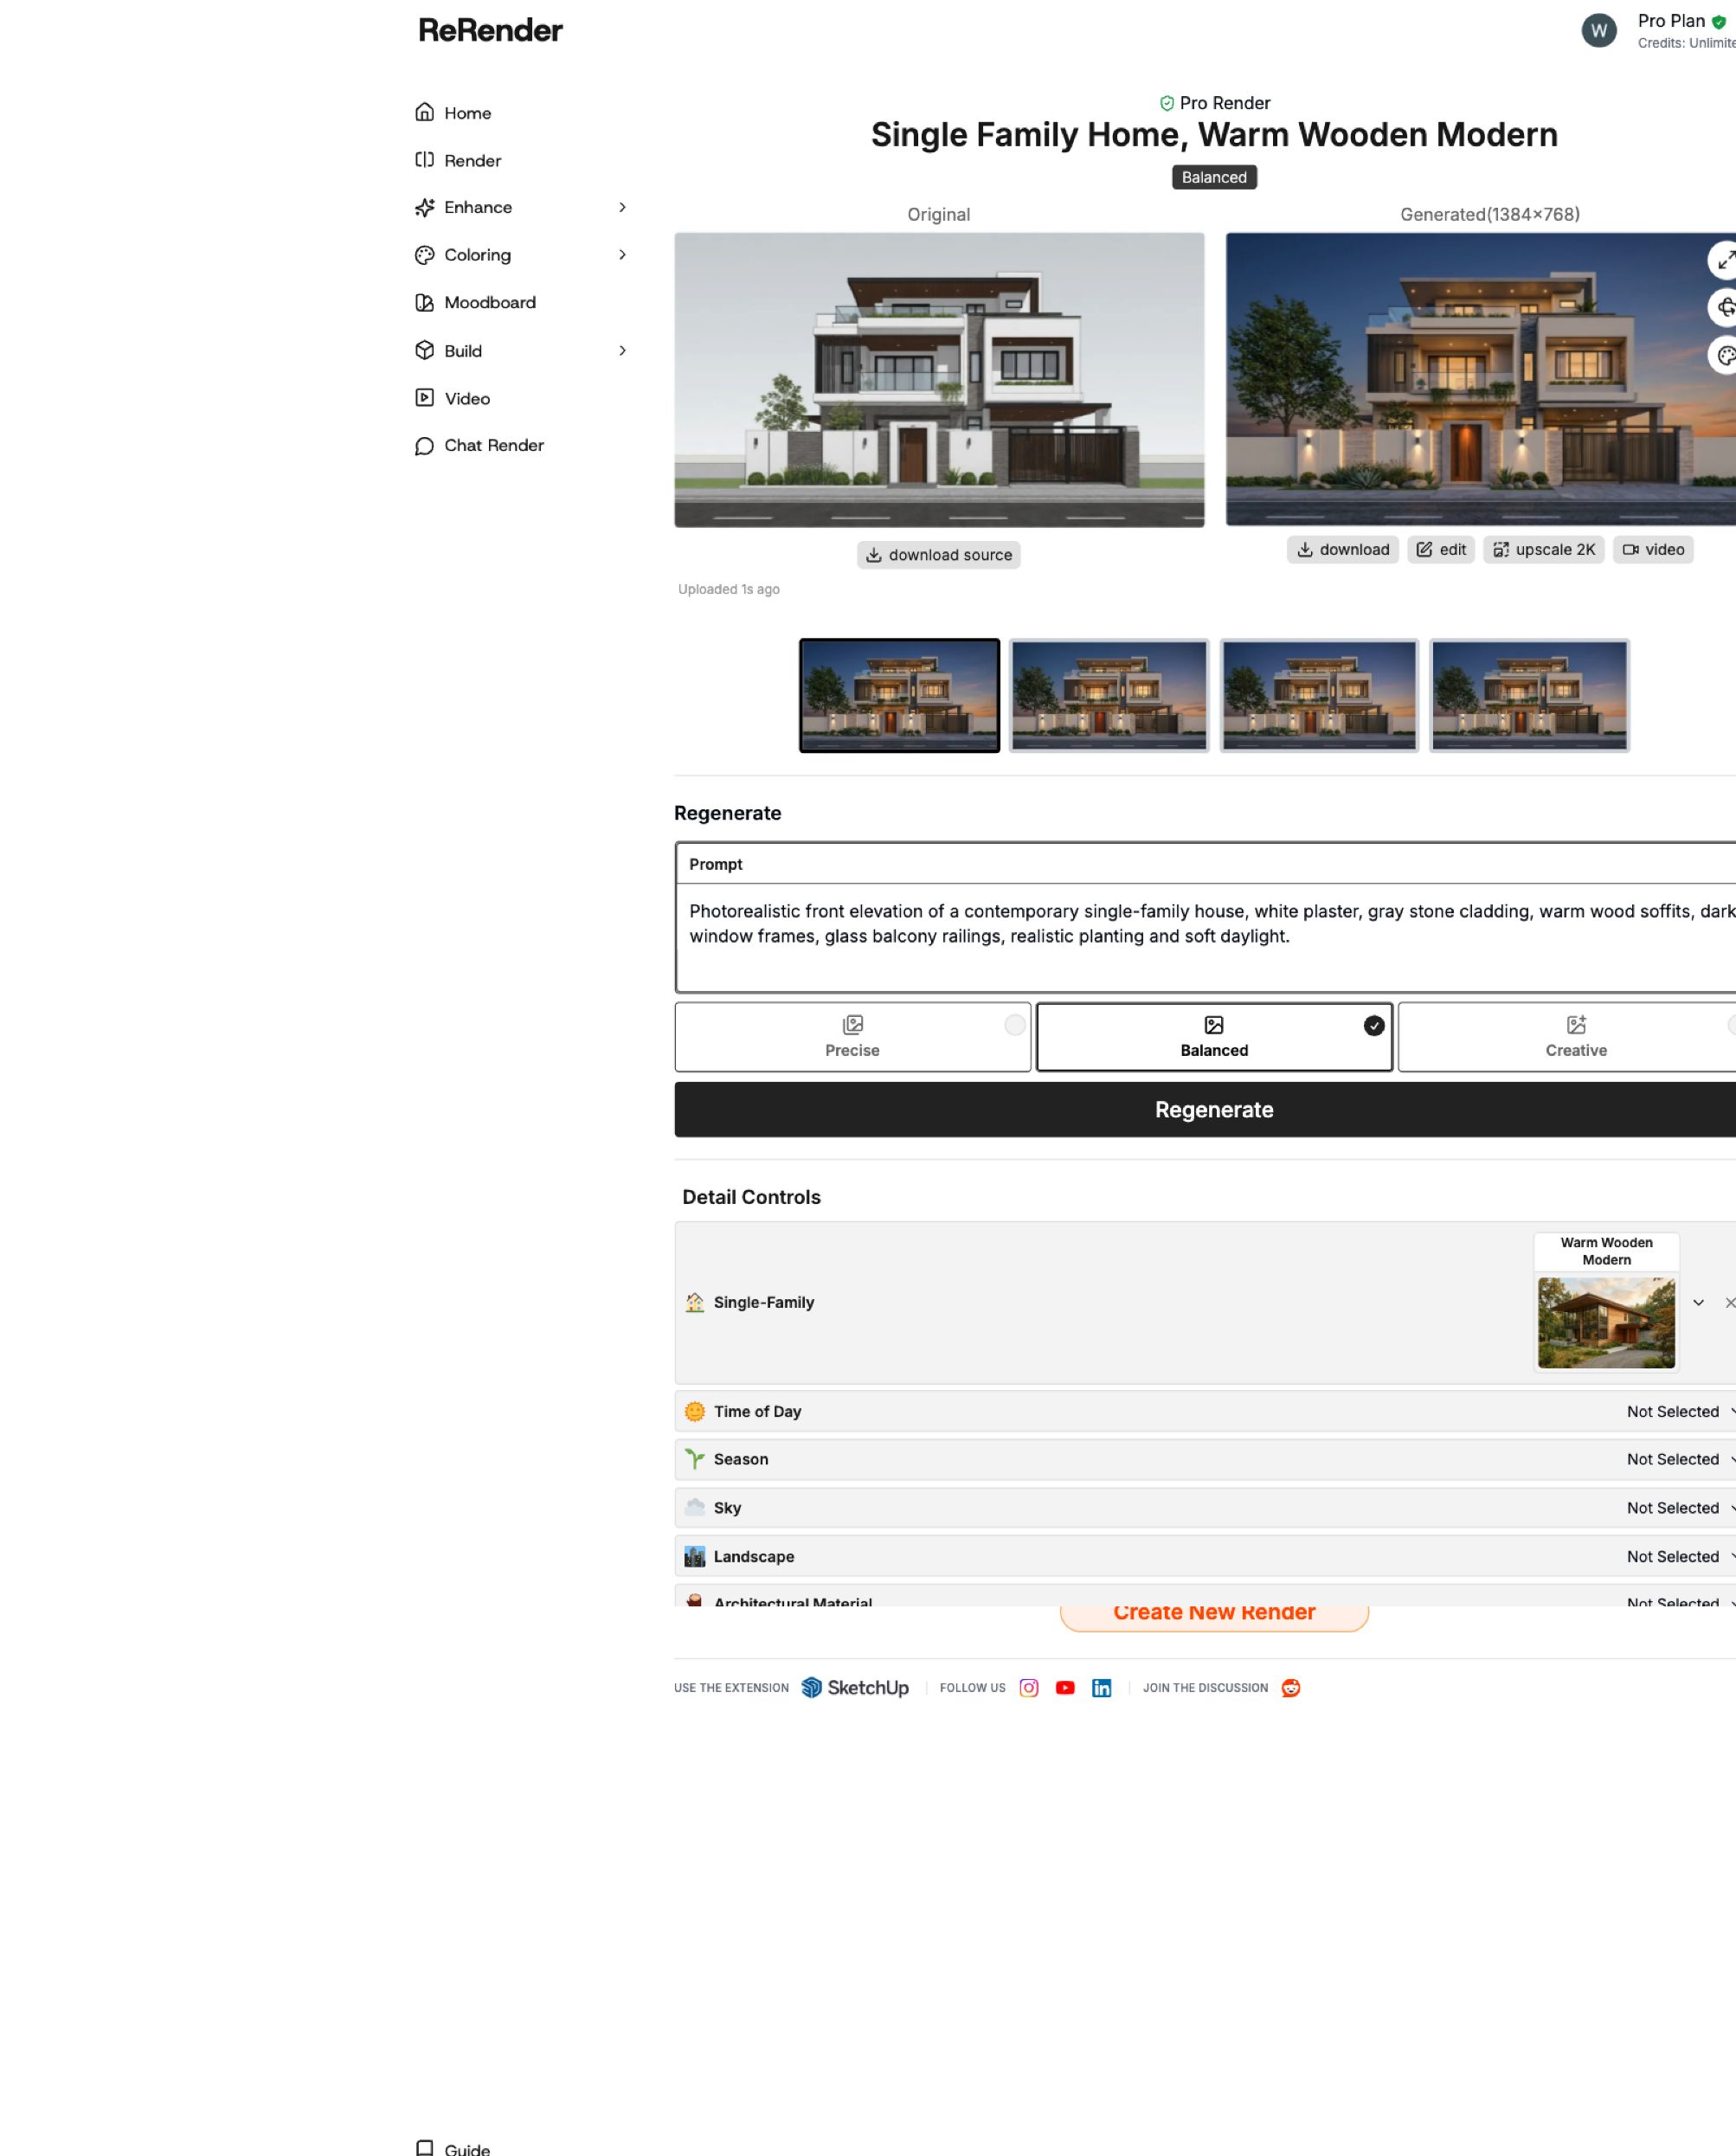
Start with Precise when maintaining the existing design is your priority. In this run, the stacked roofline, projecting right-hand frame, balcony positions, and entrance-gate arrangement remain close to Image 1. Materials, vegetation, reflections, and lighting receive a more photographic treatment.
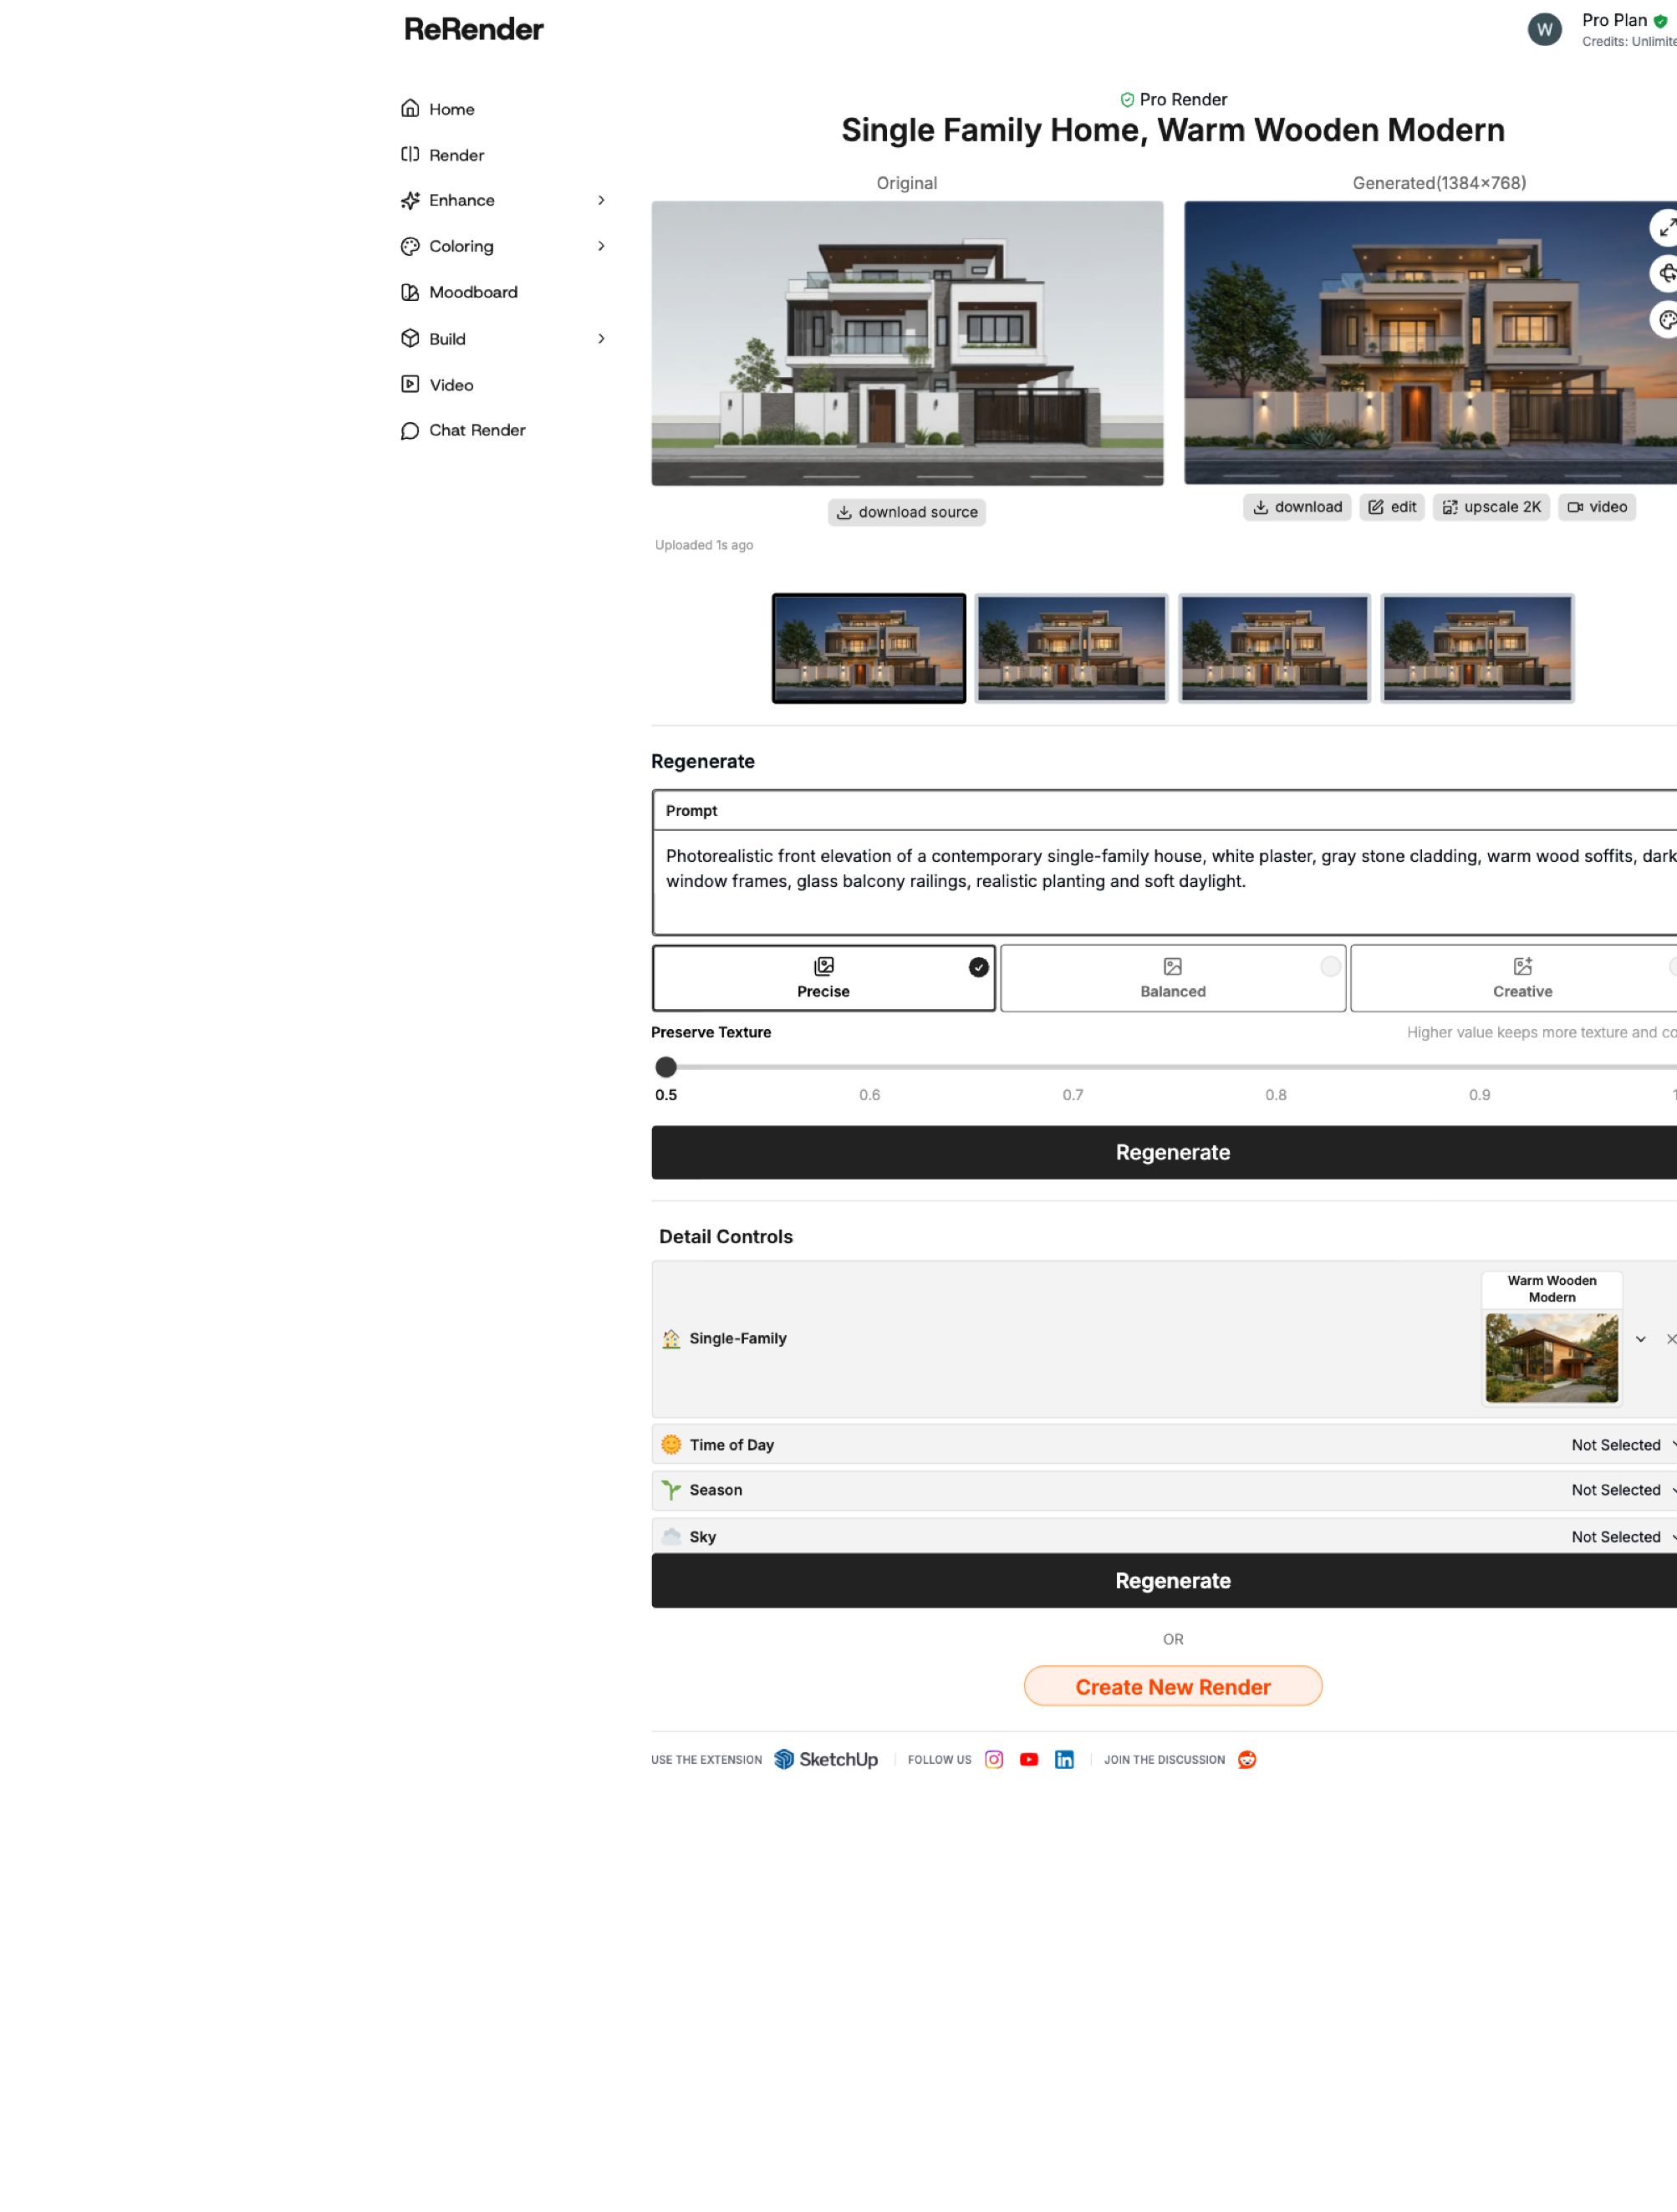
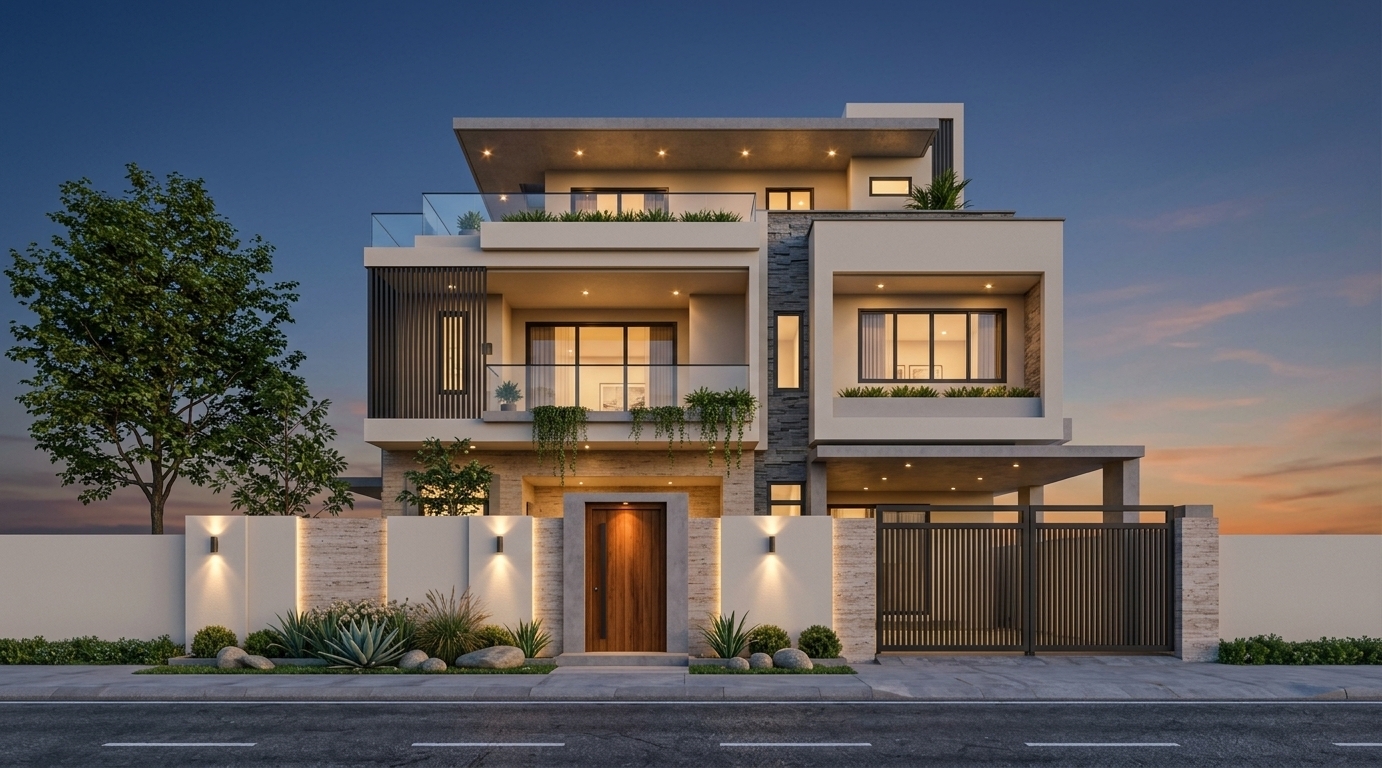
Precise retained the recognizable facade, while adding illuminated interiors and a dusk sky.
Notice that this result is an evening scene even though the prompt requested soft daylight. Precise does not mean every detail or lighting instruction is guaranteed. Check both the building geometry and the atmosphere before accepting a result.
The Precise result page also exposes Preserve Texture controls; its slider explains that a higher value keeps more texture and color. Treat that as a separate adjustment when refining a result, rather than changing it during a mode comparison.
4. Try Balanced using the same original
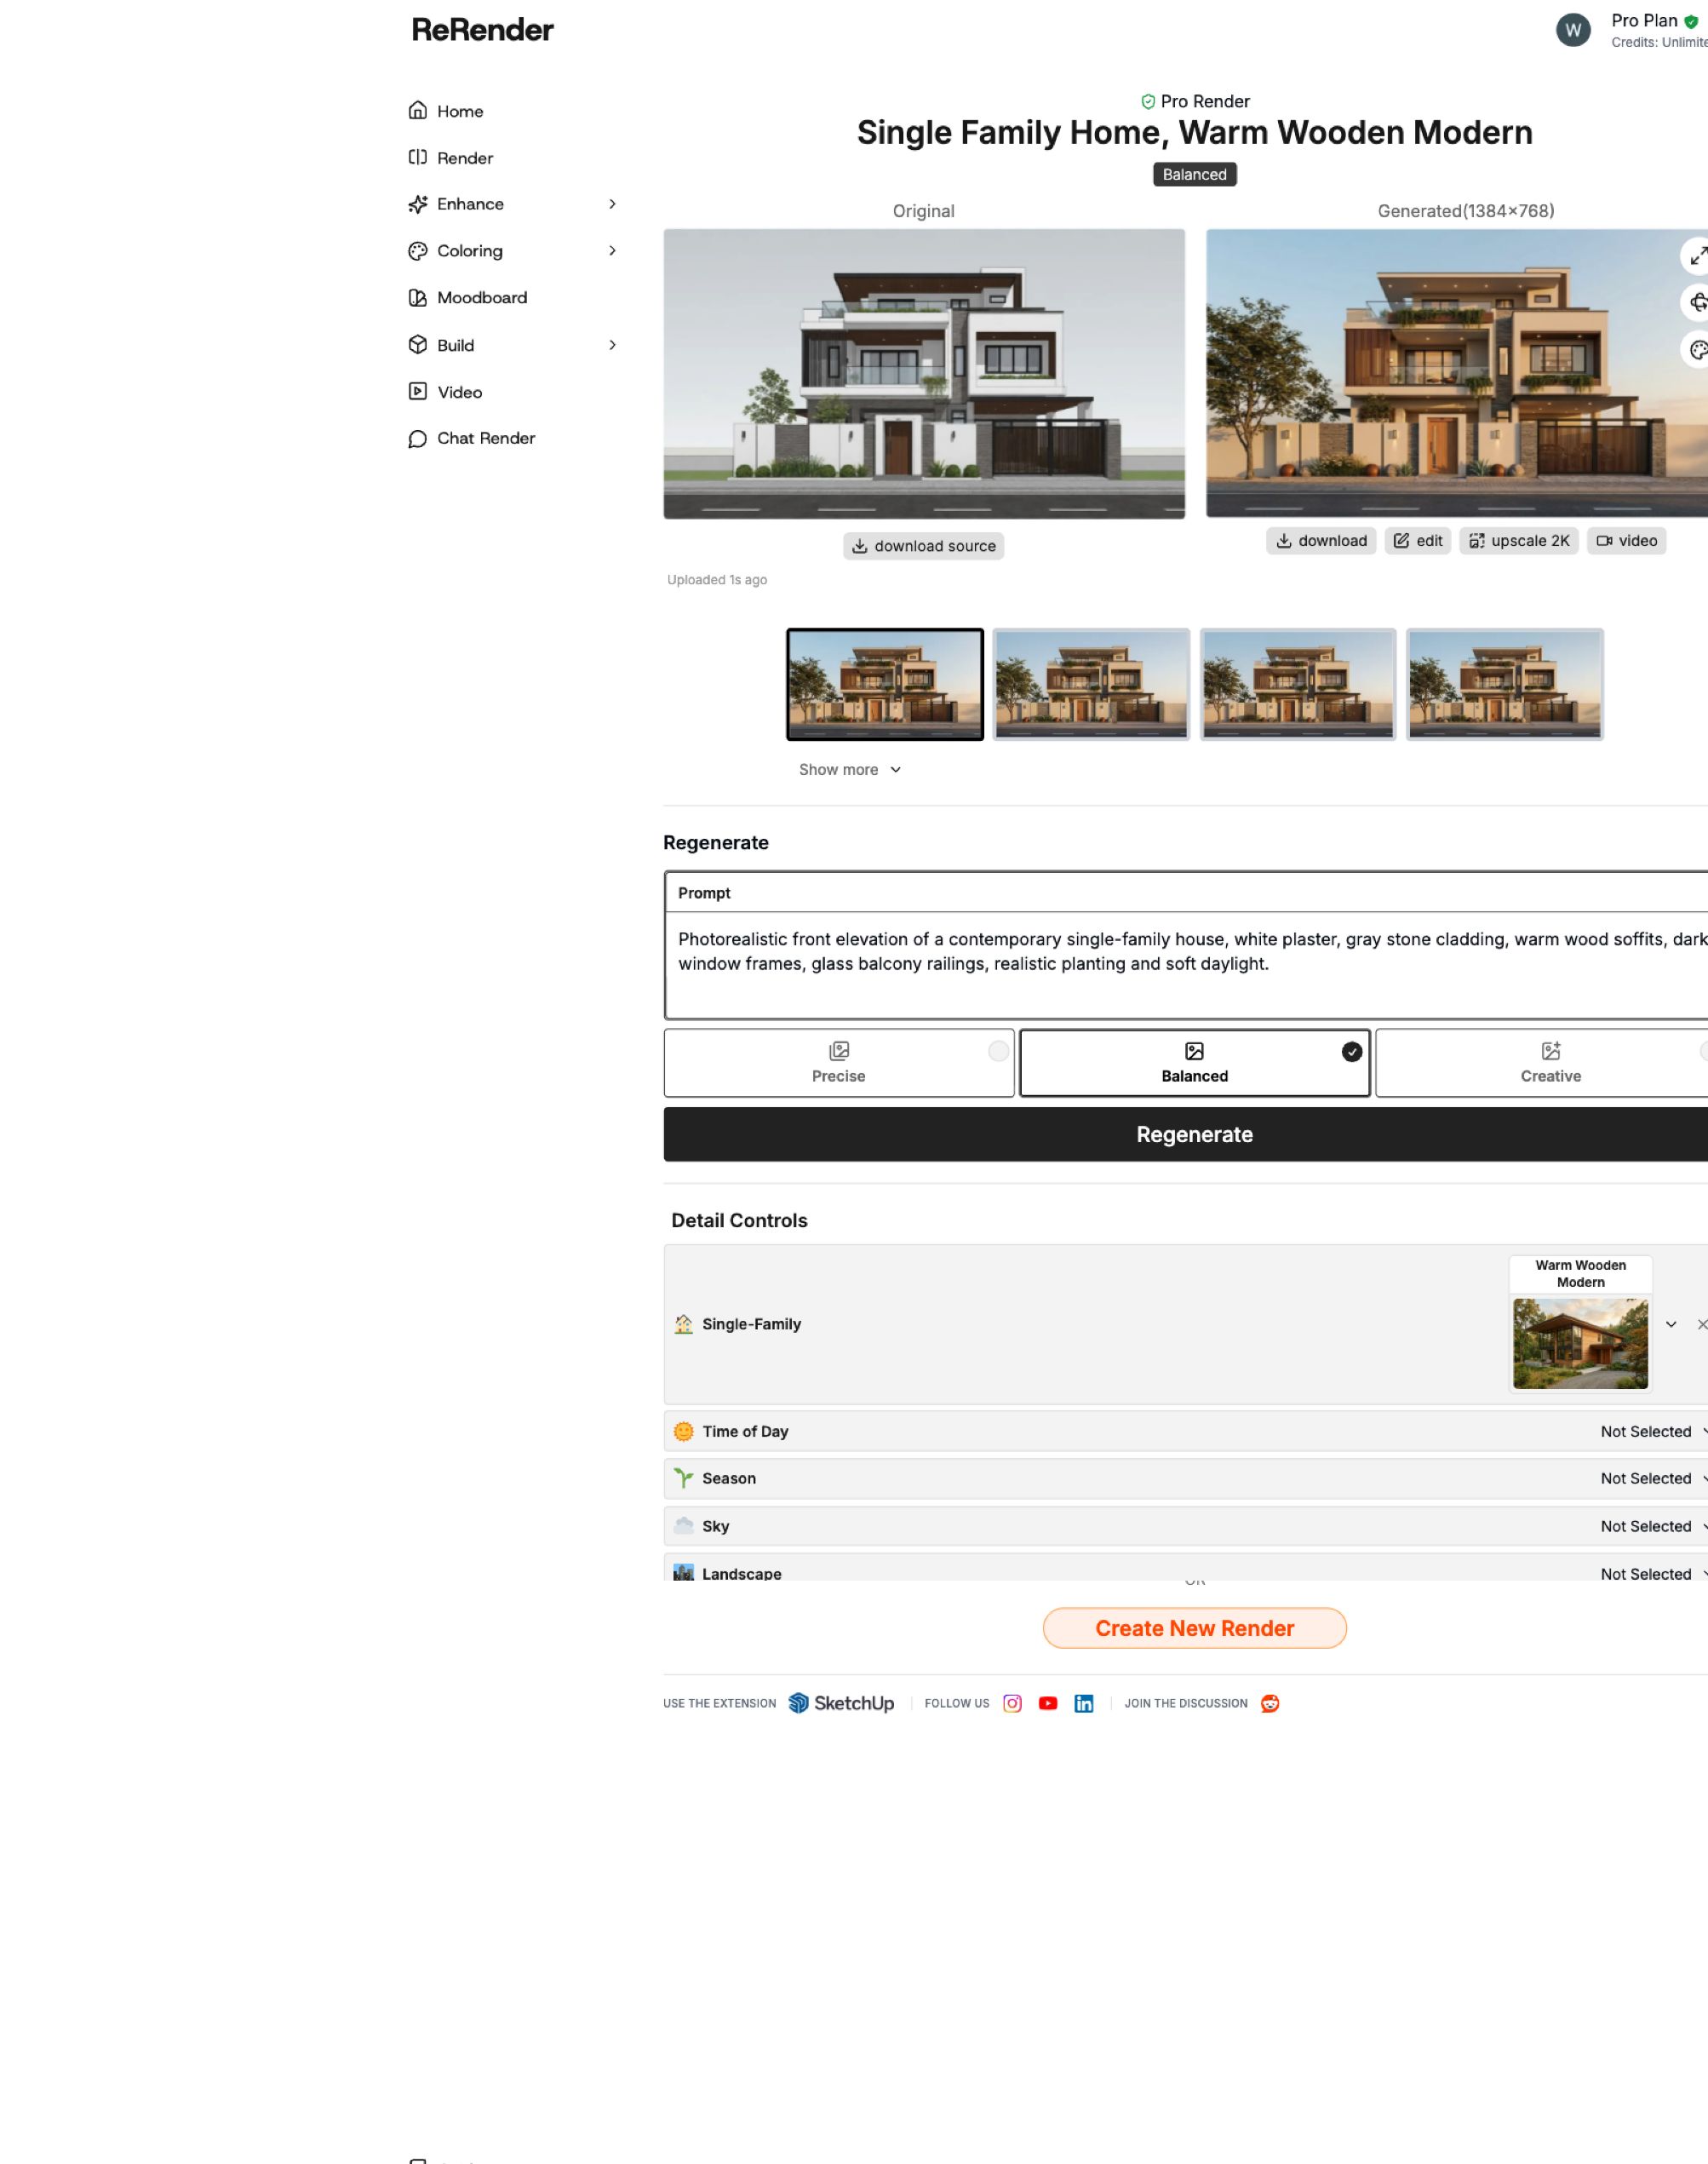
On the result page, select Balanced in the Regenerate section. Keep the existing prompt and style, confirm that Original still shows Image 1, then click Regenerate. Simply selecting a different mode does not create a new result—you must run generation again.
Settings screenshot: Balanced is selected; the image still displayed is the previous Precise output until regeneration finishes.
Balanced is a useful starting point when you want a recognizable building with more freedom in its visual treatment. Here, the overall house composition remains familiar, while the vertical screening becomes more wood-toned, balcony greenery becomes fuller, and decorative stones and planting change the frontage.
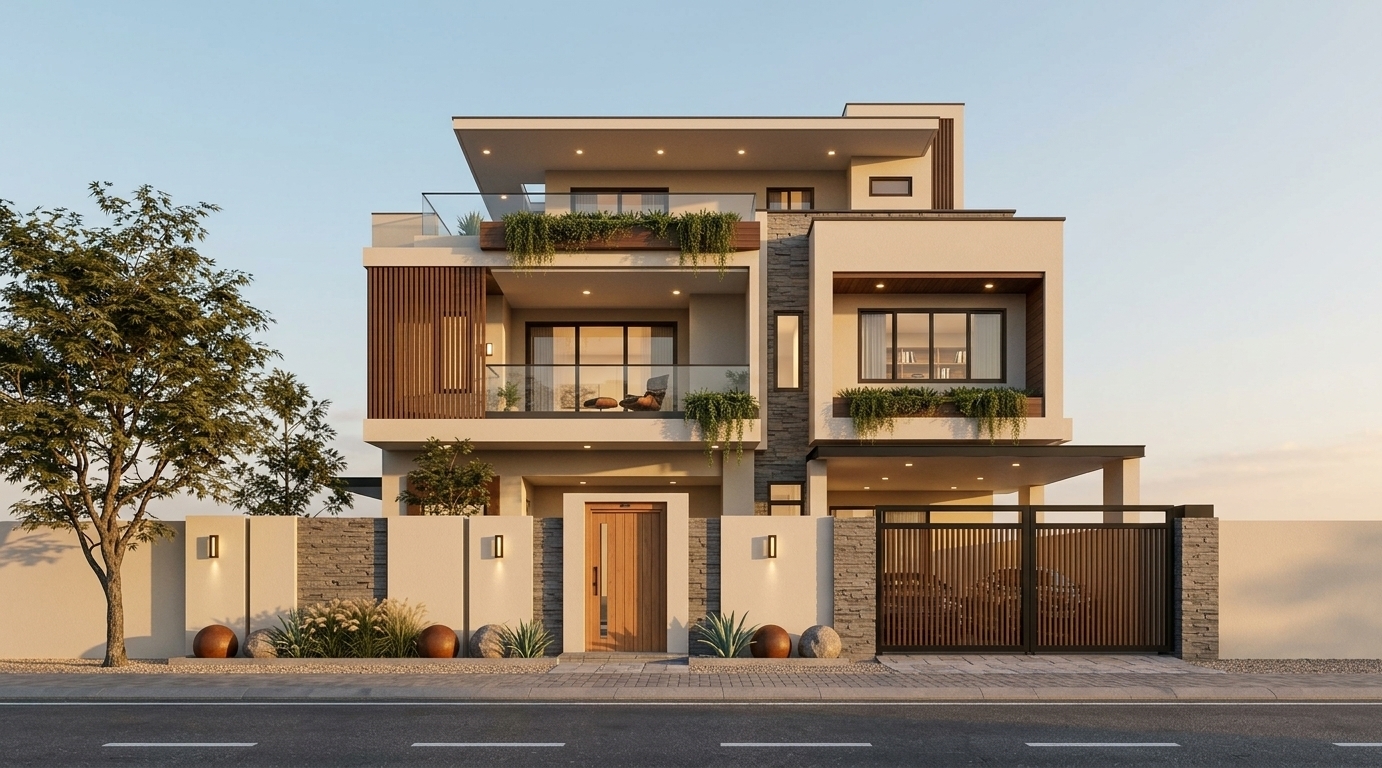
Balanced produced warm daylight and a richer material and landscape treatment in this run.
5. Explore Creative
Select Creative, retain the same prompt and style, and click Regenerate again. Continue using Image 1 as the original, rather than uploading one of the generated outputs as a new source.
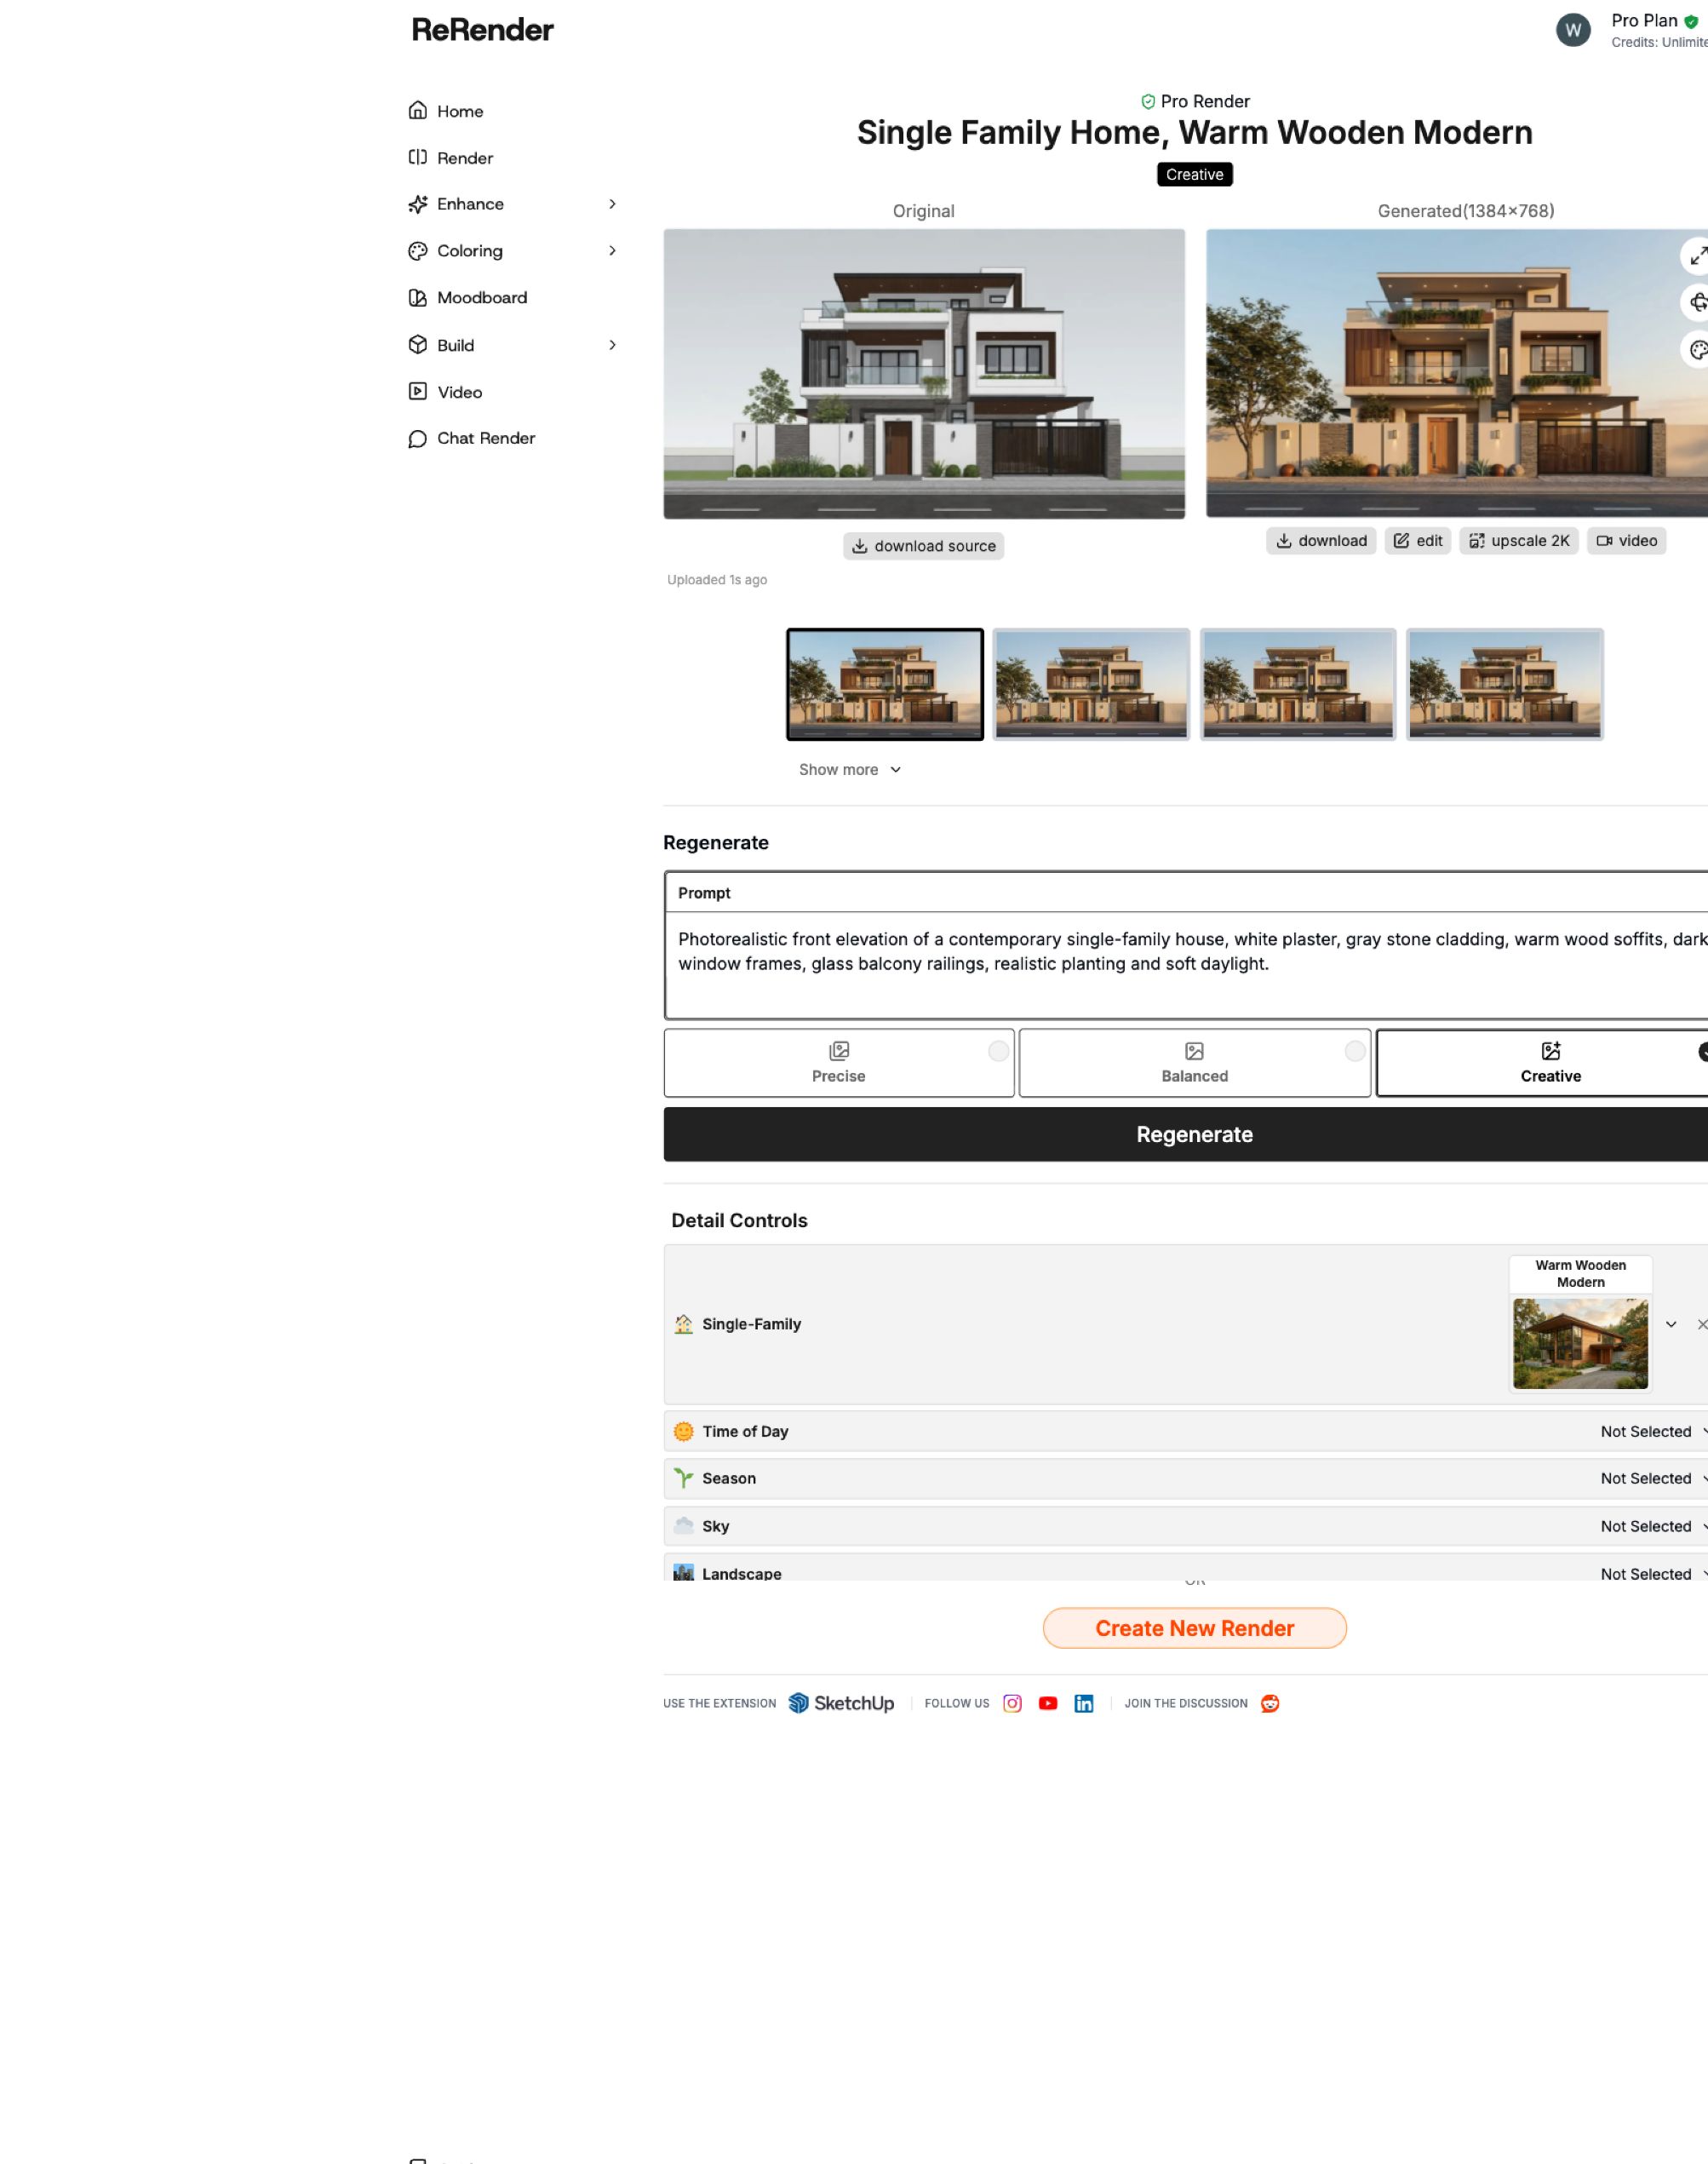
Settings screenshot: Creative is ready to run; the displayed image is still the preceding Balanced result.
Creative is useful for exploring alternative design directions when you can accept substantial changes. This run replaces much of the familiar white-and-gray facade with broad warm stone surfaces, changes the openings and balcony composition, and introduces a taller, more solid boundary wall. The setting also becomes nighttime.
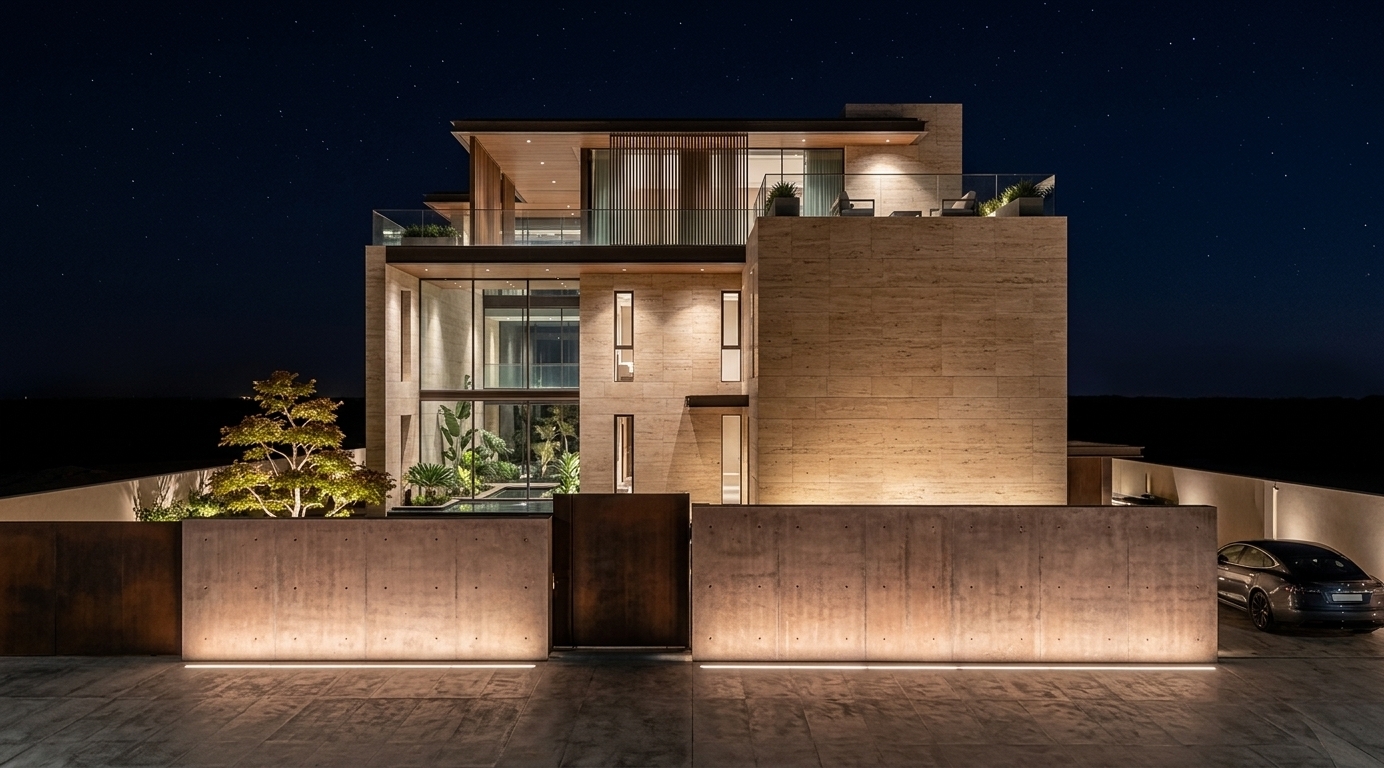
Creative offers a new architectural interpretation, rather than a close rendering of every original element.
6. Compare the results and choose a mode
Compare each result directly with Image 1. Look first at the building outline and openings, then at materials and planting, and finally at lighting. A beautiful image may still change an element that needs to stay fixed.
Comparison screenshot assembled in the article preview. The first displayed output from each completed mode run is shown.
| Mode | What we observed in this example | When to try it |
|---|---|---|
| Precise | Closely retained the main facade arrangement; added richer planting and evening illumination. | You want to refine an existing design while keeping its recognizable structure. |
| Balanced | Kept the overall composition, with warmer materials, more greenery, and decorative landscape changes. | You want a middle ground between design continuity and visual exploration. |
| Creative | Substantially changed the facade, openings, boundary wall, and material expression. | You want alternative concepts and can accept architectural changes. |
These are observations from this example, not fixed outcomes. AI generations vary, and the selected style and prompt also influence the result. The daylight differences here should not be read as a rule that one mode always produces day or night scenes.
To repeat the comparison on your own project, keep the original image and shared settings constant, generate each mode, and save the outputs with clear mode labels. Use the result thumbnails to inspect available alternatives and download to save a chosen output. If lighting or materials need further work, change one setting at a time so you can see what caused the difference.
For this house, start with Precise to stay close to the facade, try Balanced for a warmer visual interpretation, and use Creative when the goal is to discover a different design direction.
Related posts
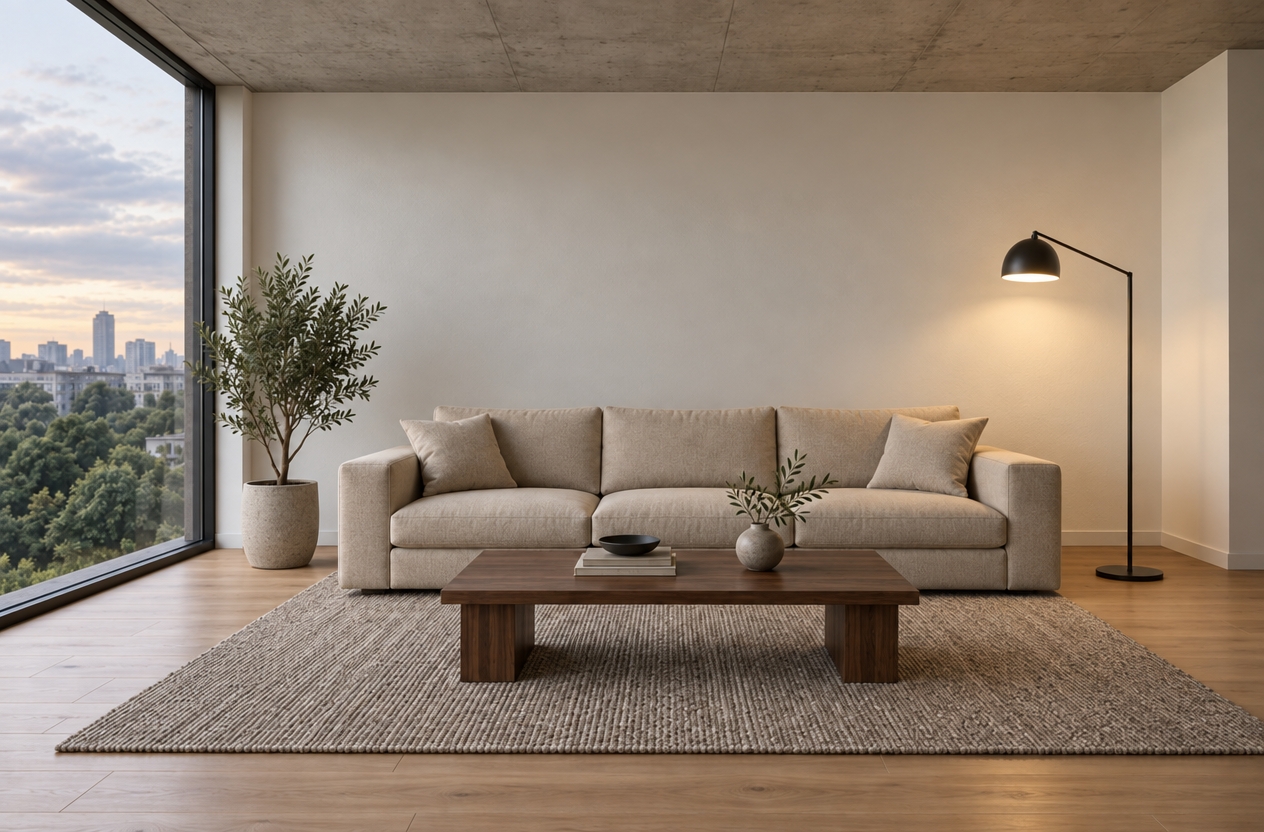
How to Relight a 3D Interior with Enhance – AI Lighting
One interior image, three painted regions: follow the updated AI Lighting workflow and inspect what changes.
ReRender Team·Sep 14, 2026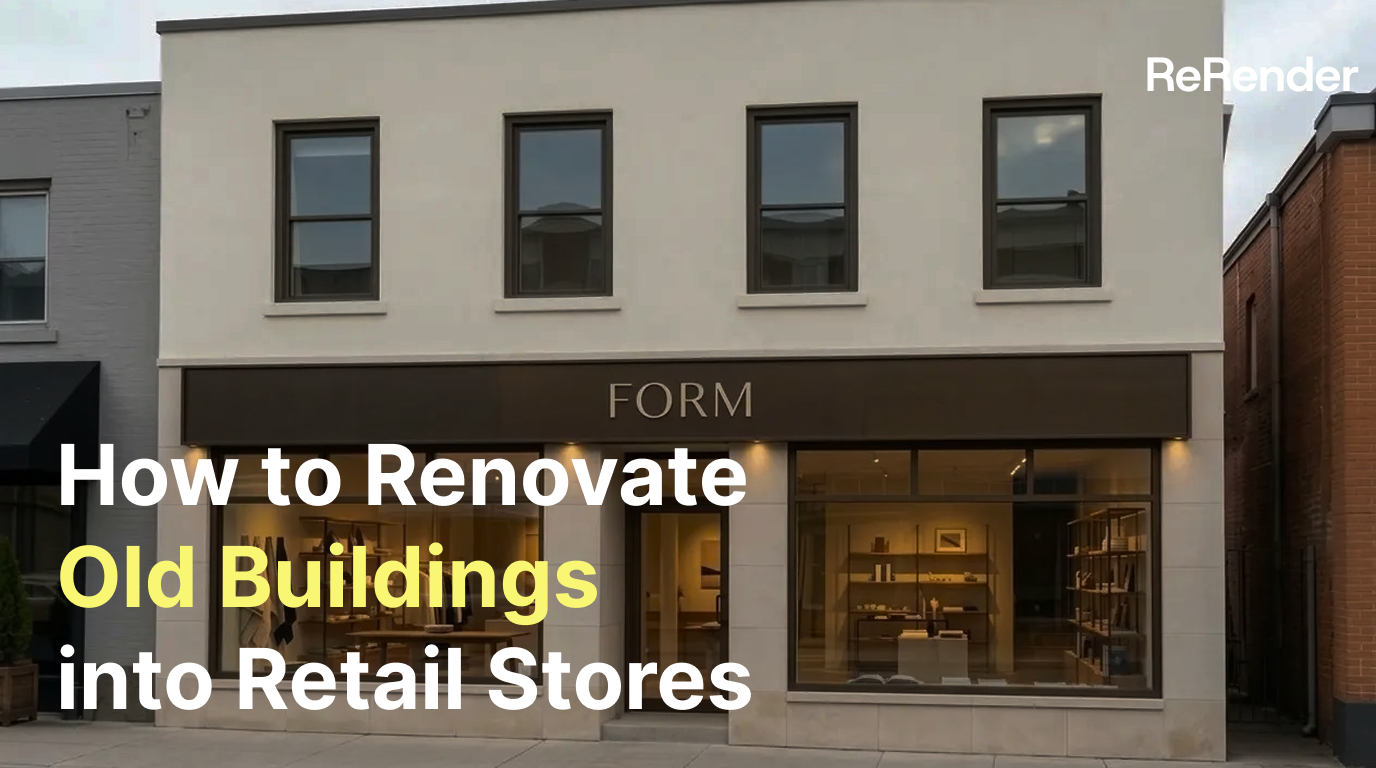
Renovating an Old Building into a Modern Retail Store with AI
Turn a tired building exterior into a clear retail renovation concept. Follow the Home workflow with Nano Banana 2, preserve the original form, and refine facade materials, windows, signage, and lighting.
Willy·Sep 14, 2026
How to Turn Floor Plans into Renders with Characters
Use ReRender AI to generate interior and exterior renders from architectural floor plans, elevations, and sections, add character figures, and turn them into architectural animations.
Willy·Sep 8, 2026