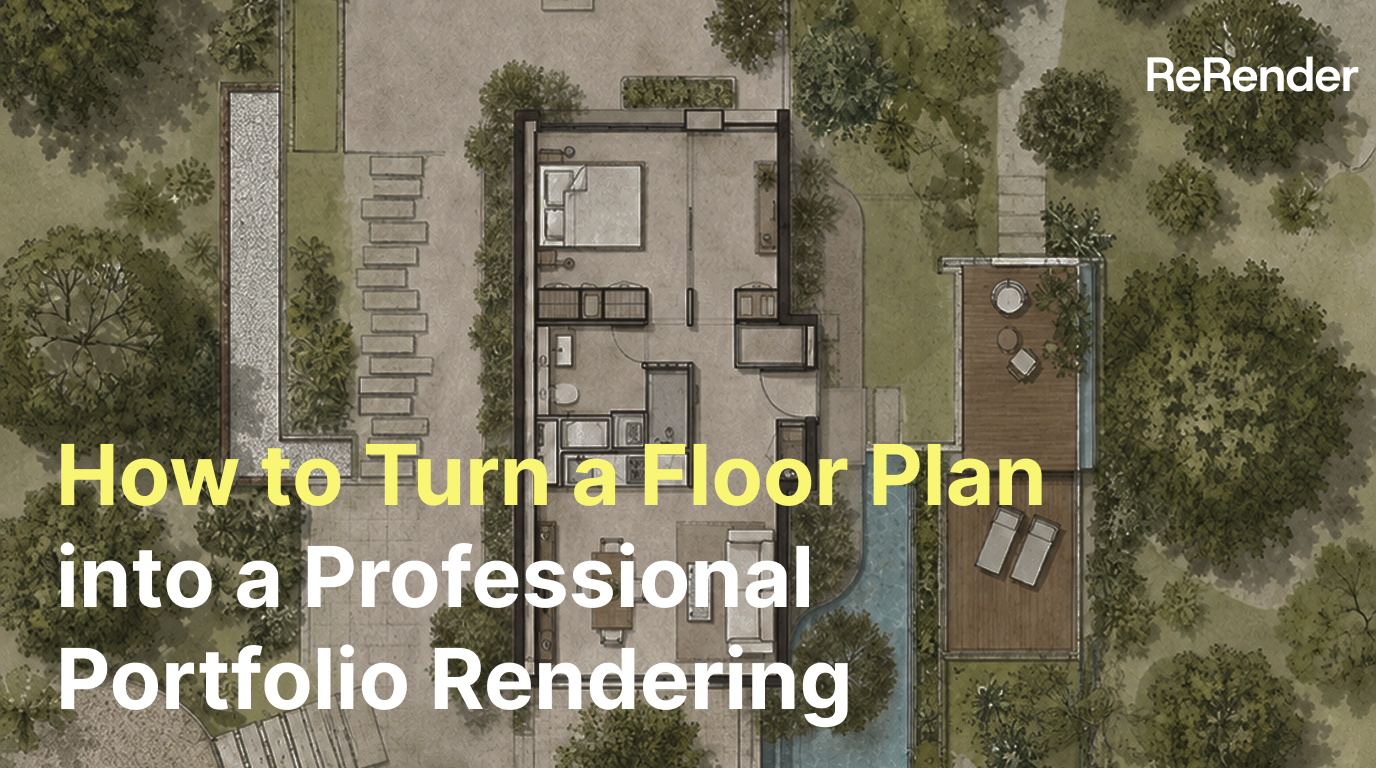
How to Turn a Floor Plan into a Professional Portfolio Rendering
Learn how to use ReRender Coloring to transform a black-and-white CAD floor plan into a clean, minimalist portfolio-style plan.
Why start with a CAD floor plan?
In residential design workflows, a CAD floor plan is usually the most precise and neutral drawing. It clearly shows walls, doors, windows, furniture layout, and circulation, but for clients or portfolio viewers, a black-and-white line drawing is not always easy to understand quickly.
In this tutorial, we’ll use ReRender and prompt control to transform a clean 2D CAD floor plan into a minimalist portfolio-style plan. The goal is not to replace construction drawings, but to help designers turn technical drawings into more communicative visuals for presentations, portfolios, and early-stage proposals.
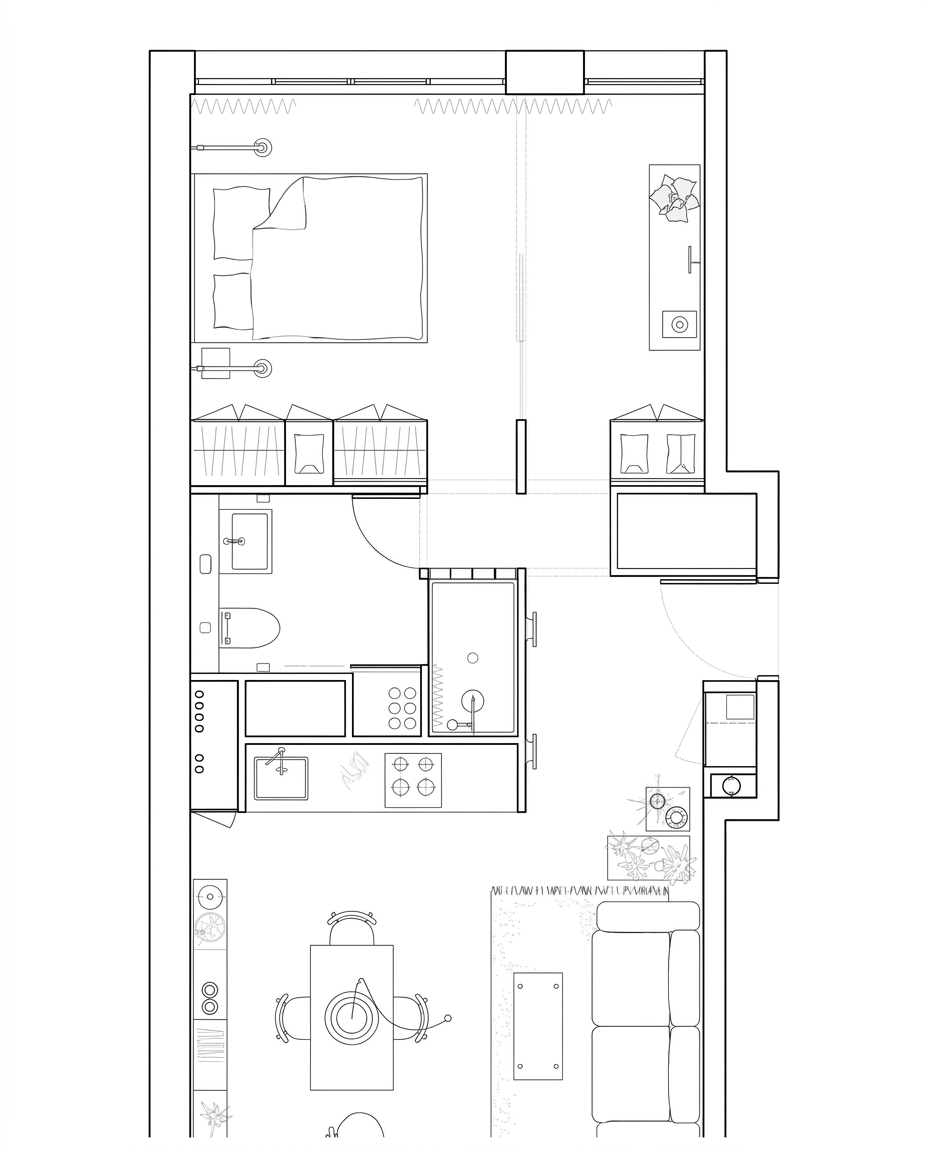
Figure 01. A clean black-and-white residential floor plan exported from CAD
The key idea of this workflow is to preserve the structure while improving the presentation. CAD provides the spatial skeleton, while AI helps organize color blocks, material hints, furniture hierarchy, and portfolio-style graphics.
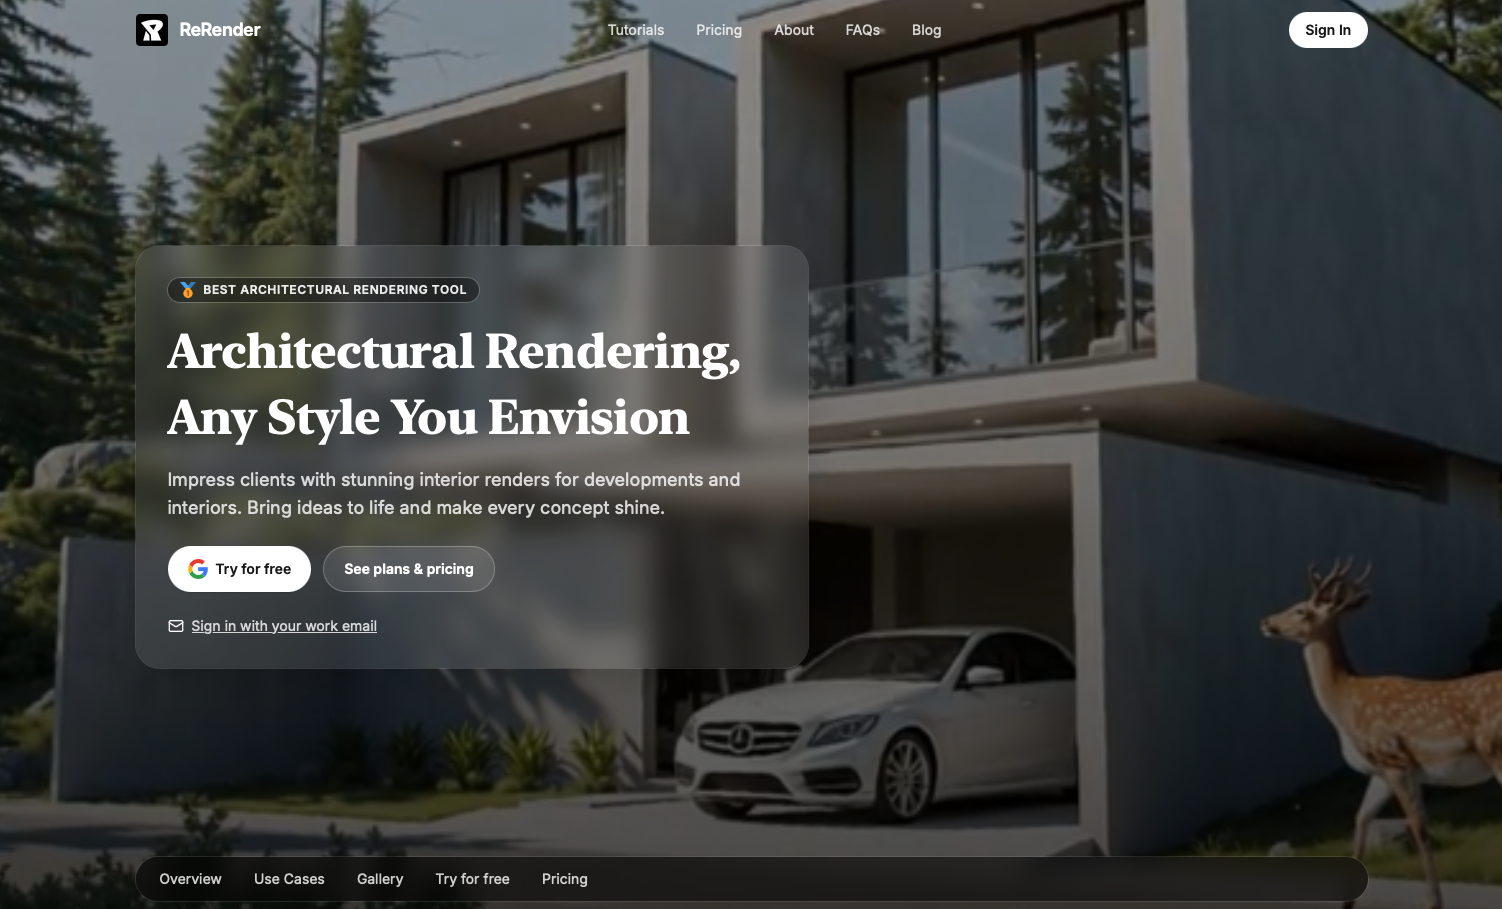
Step 1 — Log in and prepare a clean CAD export
First, log in to ReRender and prepare a clean black-and-white CAD floor plan export.
This step is more important than it may seem, because noise in the input drawing directly affects how the AI reads the spatial structure.
Before uploading, we usually remove unnecessary annotations, dimension lines, title blocks, dense text, and construction symbols. We keep only walls, doors, windows, major furniture, bathroom fixtures, and spatial boundaries.
If the line drawing is too complex, the model may treat labels or construction marks as visual elements, which can lead to unstable materials, incorrect color fills, or distorted plan graphics.
At this stage, we do not ask the model to add many materials immediately. We first want it to understand that the image is a residential floor plan. The cleaner the input is, the easier the later prompt becomes to control.
Step 2 — Open Coloring and upload the floor plan
After logging in, open the Coloring workflow in ReRender and upload the CAD line drawing as the core reference image.
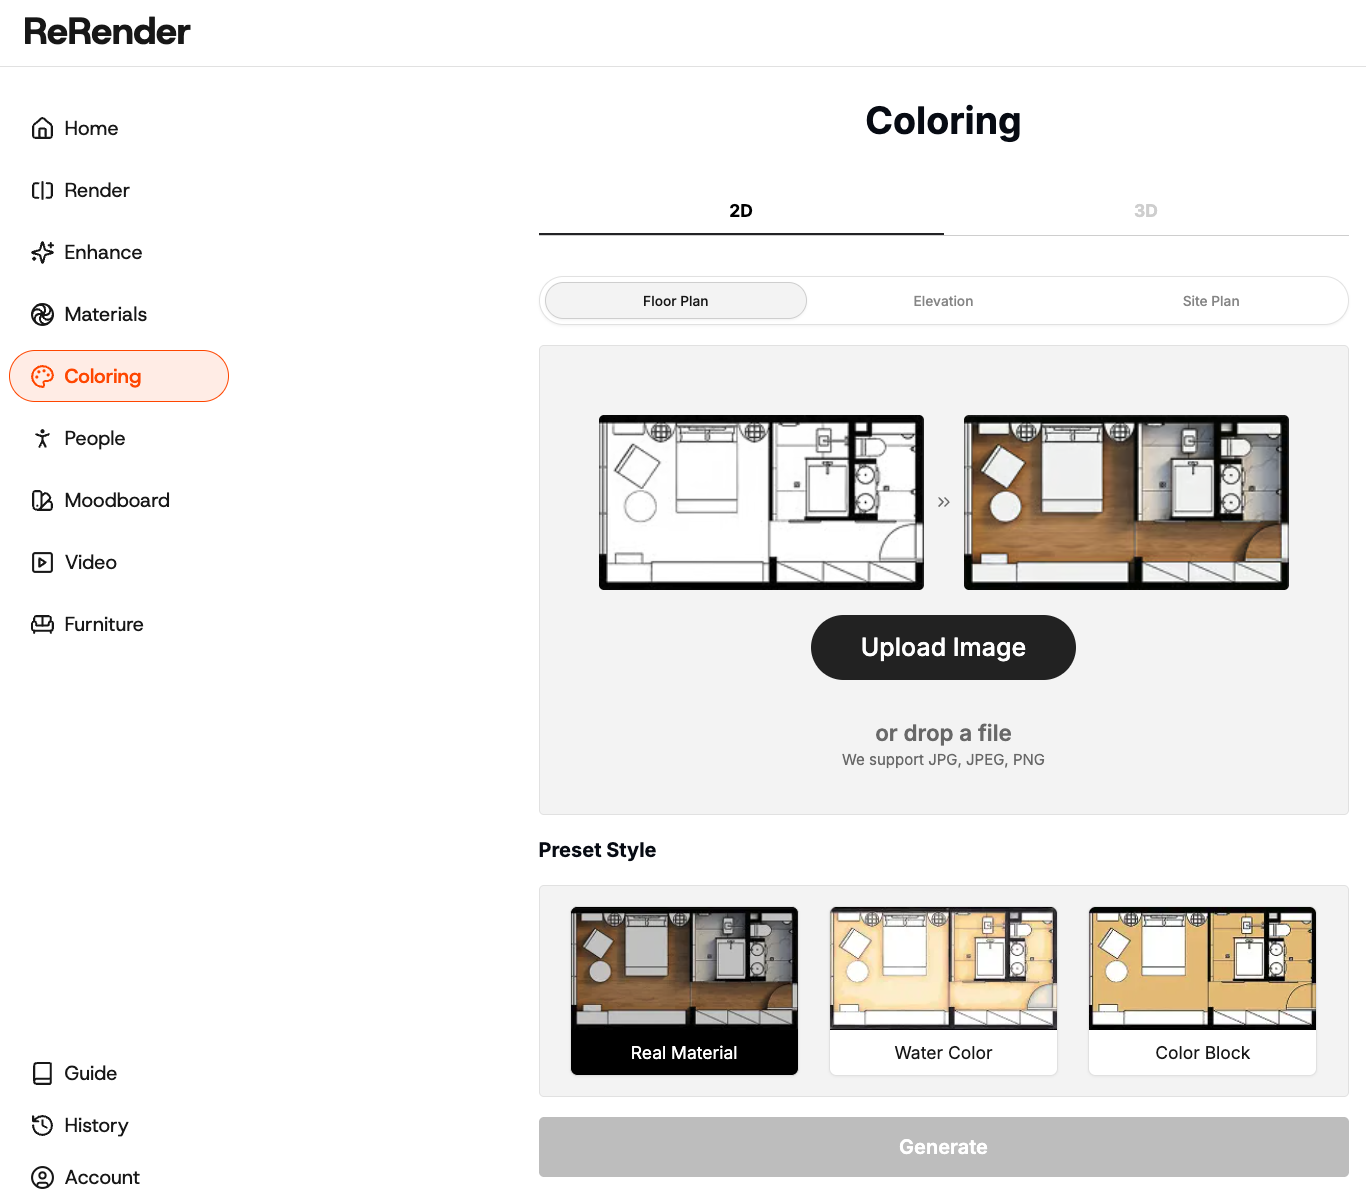
Coloring is useful for this task because we want to keep the original plan structure while adding controlled visual hierarchy, subtle colors, and portfolio-style presentation.
The uploaded CAD drawing should be treated as the structural guide. We want the AI to follow the original layout, not redesign the apartment.
Step 3 — Use a prompt to define the portfolio style
Once the CAD line drawing is uploaded, write a prompt that clearly asks the model to preserve the original layout, wall proportions, openings, and furniture placement while converting the drawing into a clean portfolio-style plan.
Preserve the original floor plan geometry, walls, openings, proportions, spatial divisions, and overall layout. Transform it into a clean, professional portfolio-style top-down rendered plan with clear black CAD linework, delicate grayscale drawing tones, soft shadows, watercolor paper texture background, light paving, trees, shrubs, planting blocks, landscape boundary lines, and detailed interior furniture.

Apply the following color palette: [insert your color codes here]

Keep the style soft, minimal, and architectural, with a high-resolution output. Do not include: text labels, legends, people, vehicles, 3D perspective effects, blurry lines, distorted walls, heavy color schemes, or cluttered planting.
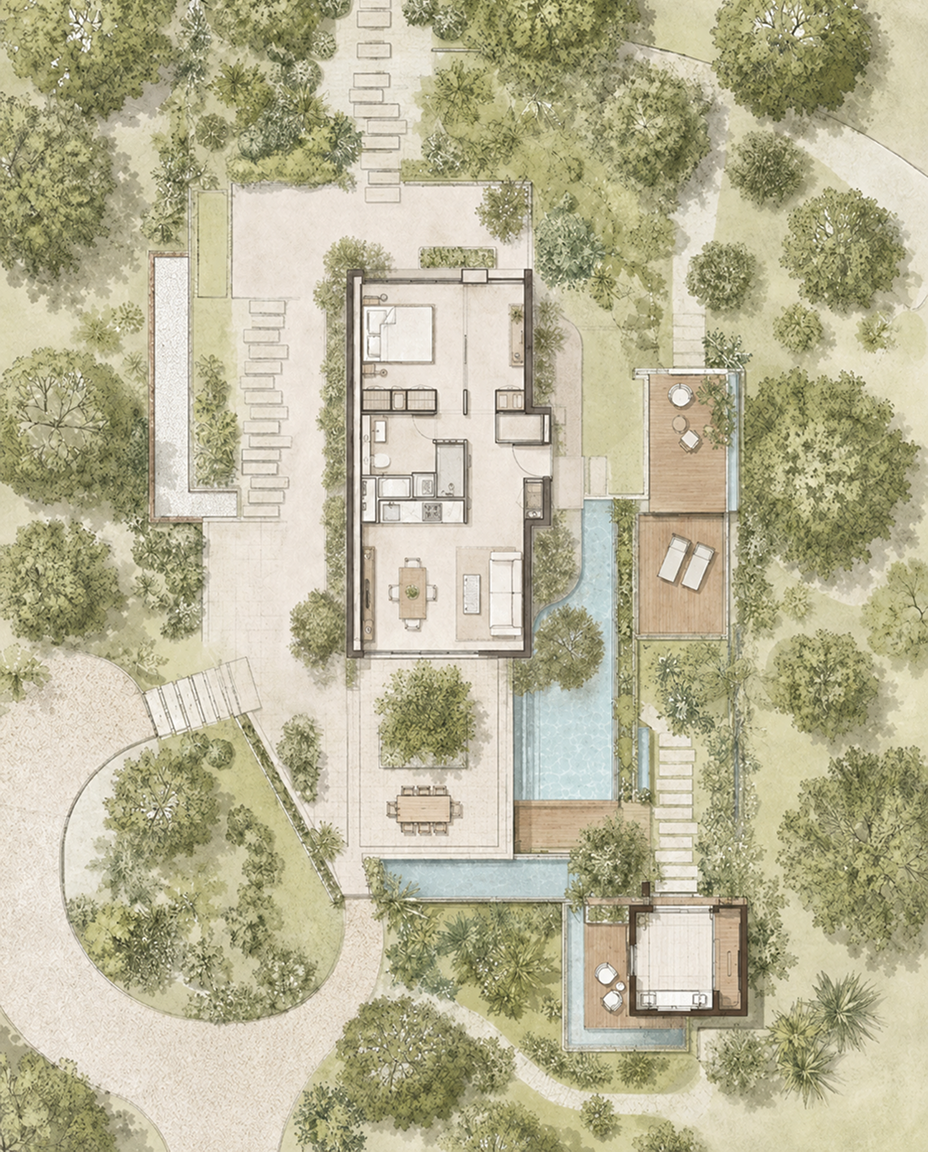
Figure 02. Using ReRender to convert a black-and-white CAD drawing into a portfolio-style floor plan
In our tests, the key is not simply asking the model to “make it beautiful.” The more important instruction is to preserve the layout, wall thickness, doors, windows, and furniture placement.
These terms remind the model to keep the most important plan information instead of redesigning the layout.
If the prompt only says “beautiful floor plan” or “modern plan rendering,” the result may look visually appealing but change walls, furniture, or opening positions. For architectural drawings, that kind of error is more serious than an image that is not polished enough.
Step 4 — Keep color and material restrained
A portfolio-style floor plan does not need to look like a realistic interior rendering. It needs clear drawing hierarchy so viewers can quickly understand spatial zoning, furniture layout, and circulation.
We usually use low-saturation neutrals, light wood tones, beige, or light gray to avoid overly vivid materials that distract from the drawing. Floors, rugs, sofas, and beds can have subtle fills, but walls and primary structures should remain clear.
minimal color palette, warm beige and light wood tones, subtle floor material, clean furniture fills, soft shadows, readable architectural plan graphic
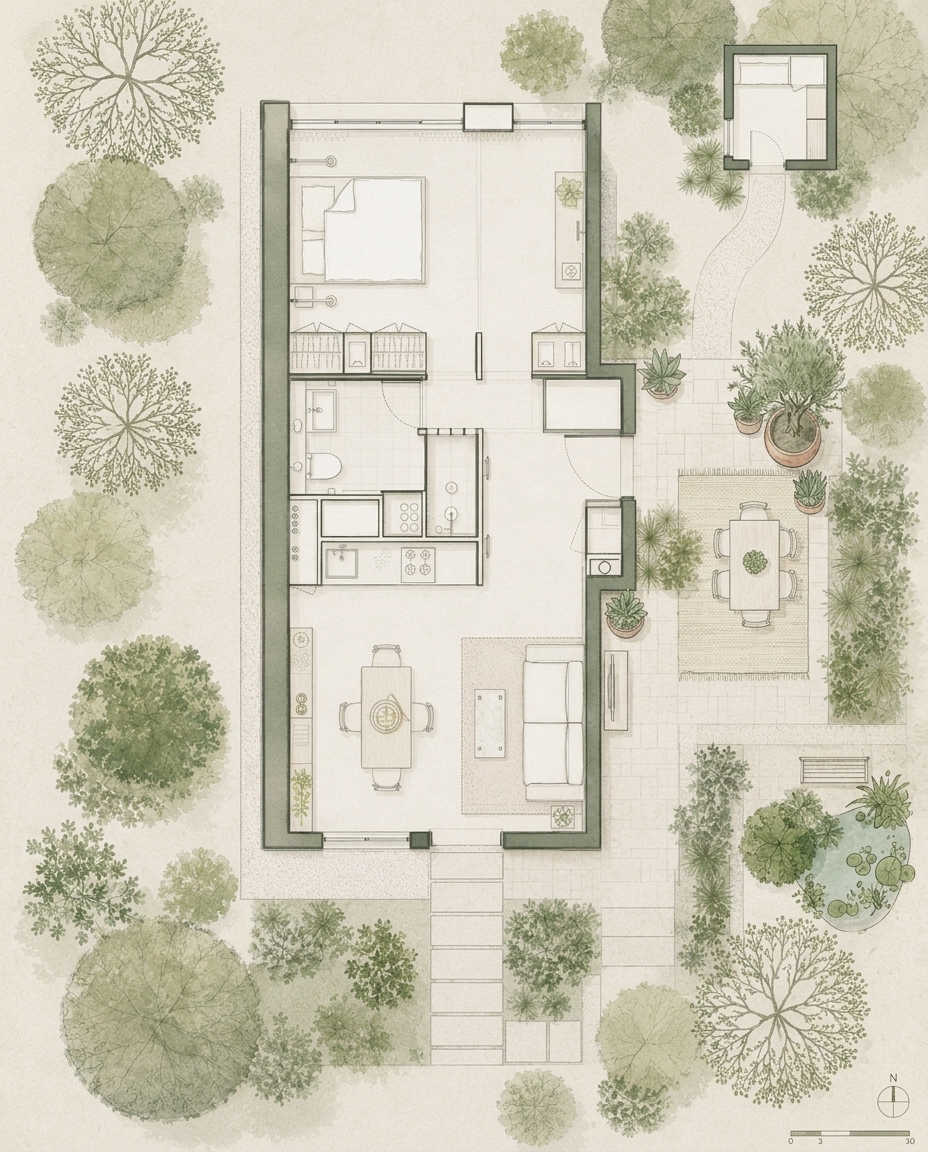
Figure 03. Using restrained colors and simple materials to build plan hierarchy
The biggest trade-off here is between atmosphere and readability. If there are too many materials, the plan can start to look like a collage. If there is no color at all, it returns to a cold technical drawing.
So we use color to support reading, not to dominate the image.
Step 5 — Check common issues
This workflow looks simple, but we often see a few recurring problems during testing.
The first problem is layout change. Sometimes the model adds walls, changes doors, moves furniture, or reorganizes bathrooms to make the image look more complete. When this happens, we strengthen the prompt with instructions such as preserve original layout and do not change room arrangement.
preserve the original floor plan layout exactly, do not move walls, do not change room arrangement, keep all doors and windows in the same position
The second problem is that the image becomes too close to an interior render. When the prompt includes too many words like realistic material, lighting, or shadow, the output can shift away from a floor plan and become more like a rendered image. To prevent this, we use terms such as portfolio-style floor plan, 2D architectural plan, and flat graphic.
The third problem is unstable furniture recognition. Beds, sofas, dining tables, and kitchen fixtures may be reinterpreted if the original CAD drawing is too simplified. That is why we recommend keeping major furniture in the input drawing instead of uploading an empty layout.
What this workflow changes
This workflow can turn a cold 2D CAD floor plan into a portfolio-style floor plan that is easier to present, compare, and share.
For designers, it works especially well for portfolio organization, early proposals, social media posts, and design concept explanation.
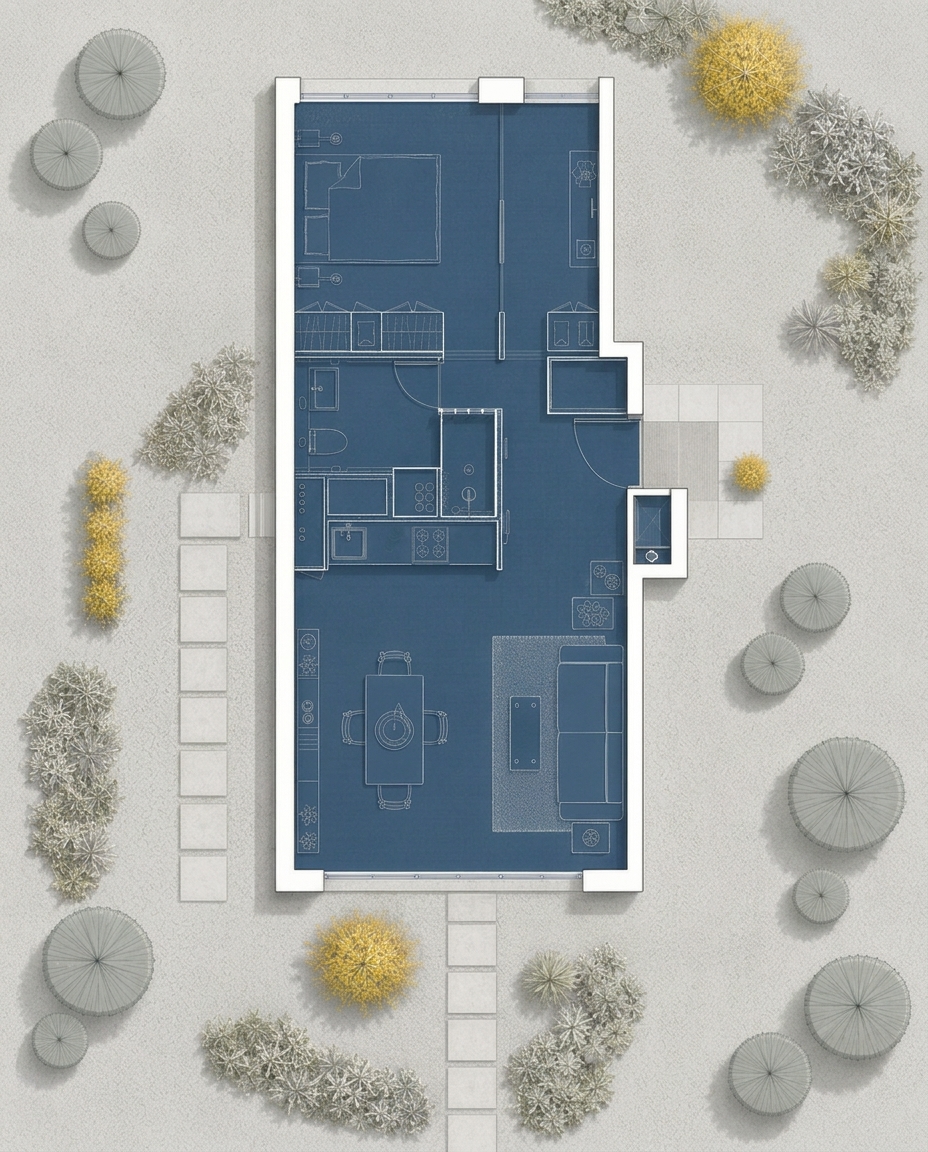

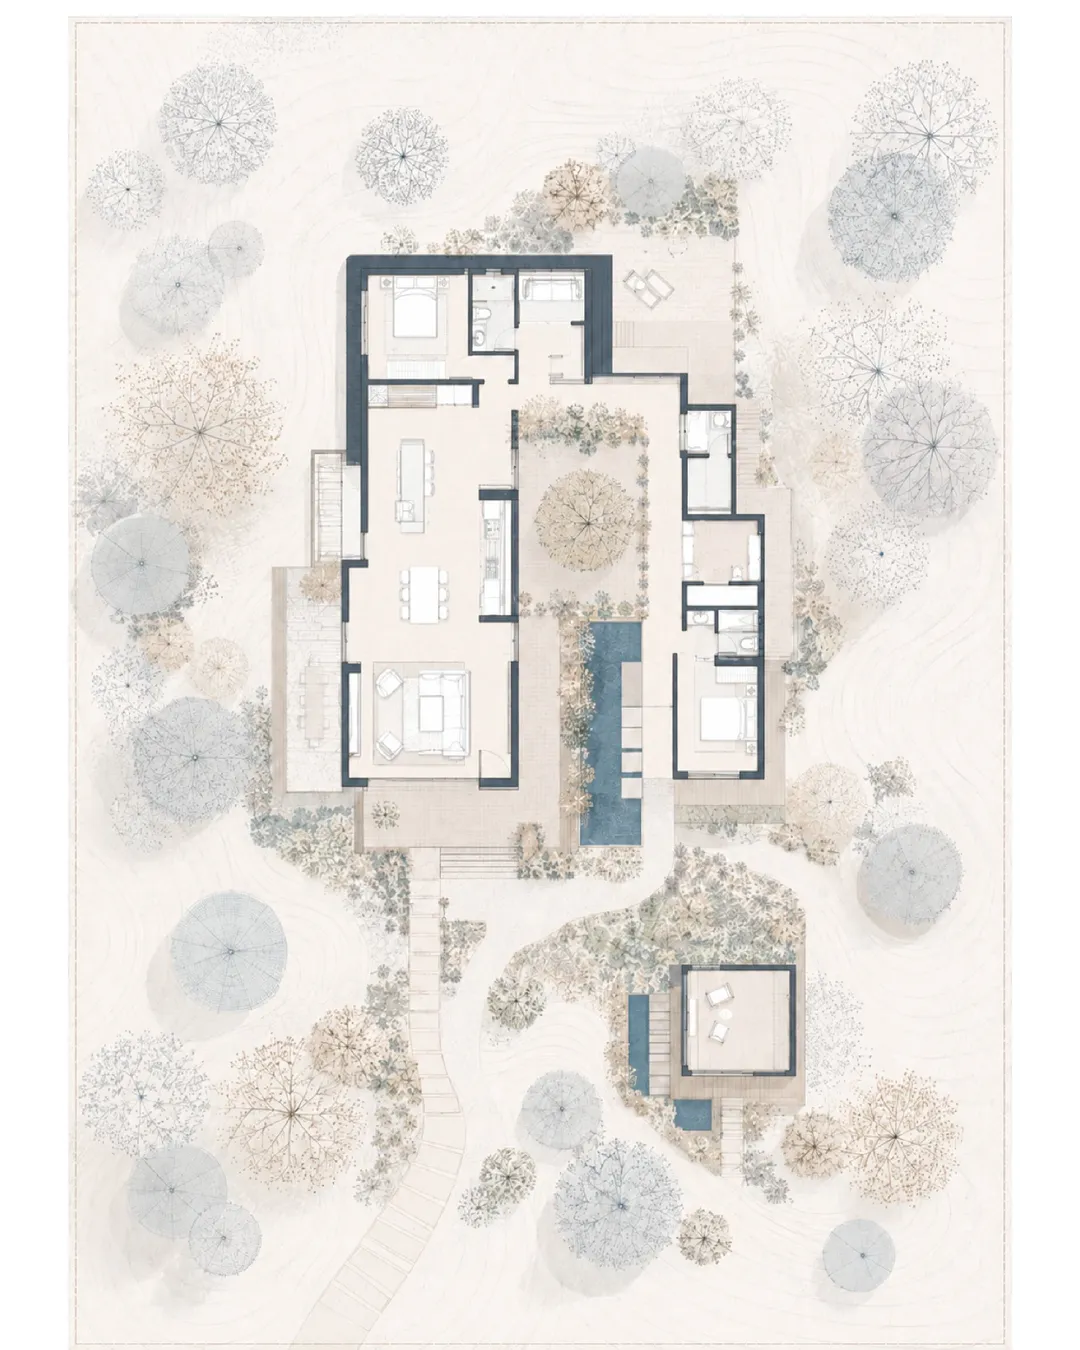
Figure 04. Different portfolio-style floor plan outputs generated from CAD references
ReRender still requires manual review for walls, doors, windows, furniture, and room information in this type of floor plan conversion. Especially before using the result in a formal proposal or delivery, designers should compare the output with the original CAD drawing.
But for early-stage proposals, this workflow can reduce the time cost of turning CAD linework into a portfolio graphic. It also helps designers test different visual styles faster.
AI is not replacing floor plan drawing here. It helps us translate existing design information into a visual language that is easier to understand, discuss, and present.
Related posts
How to Create Planting Design Boards with AI
A planting design board is not just a plant collage. It turns climate, water use, and atmosphere into a clear proposal direction.
Willy·Jul 24, 2026
How to Turn Static Renders into Walkthrough Videos
A static render can become more than a single image. With the right video prompt, it can turn into an immersive spatial walkthrough.
Willy·Jul 21, 2026
How to Guide AI Design with Annotations
Sometimes drawing directly on the image is more accurate than writing a longer prompt.
Willy·Jul 16, 2026